
Easter Egg Decorating - Electric Tape Stencil Method
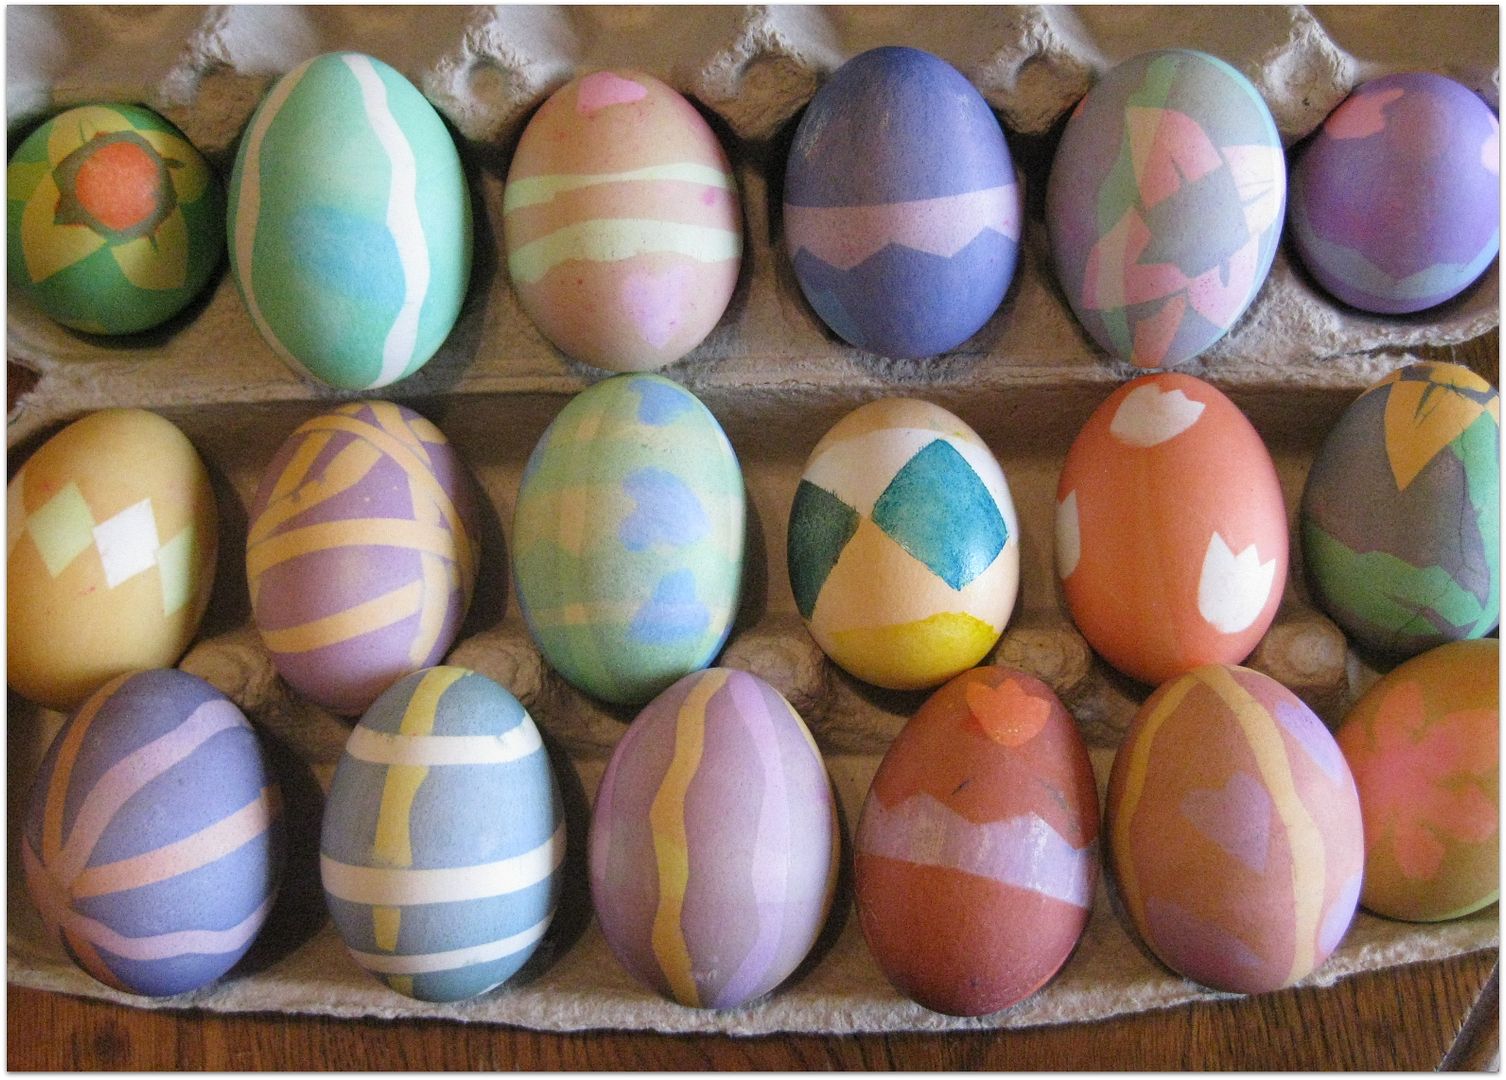
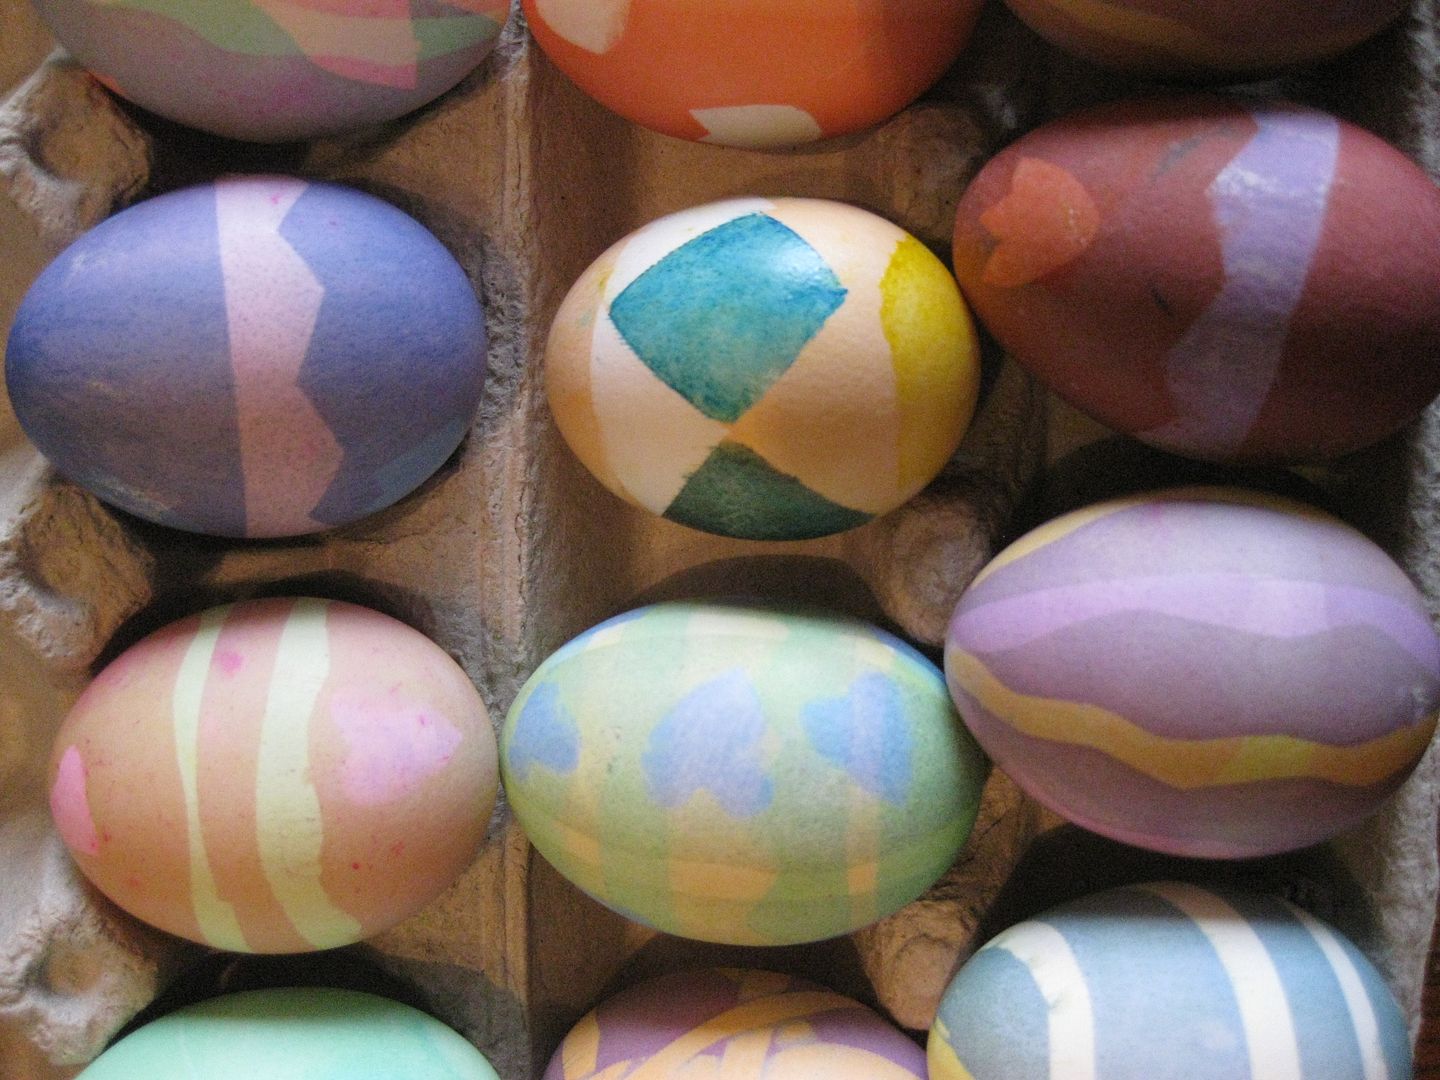
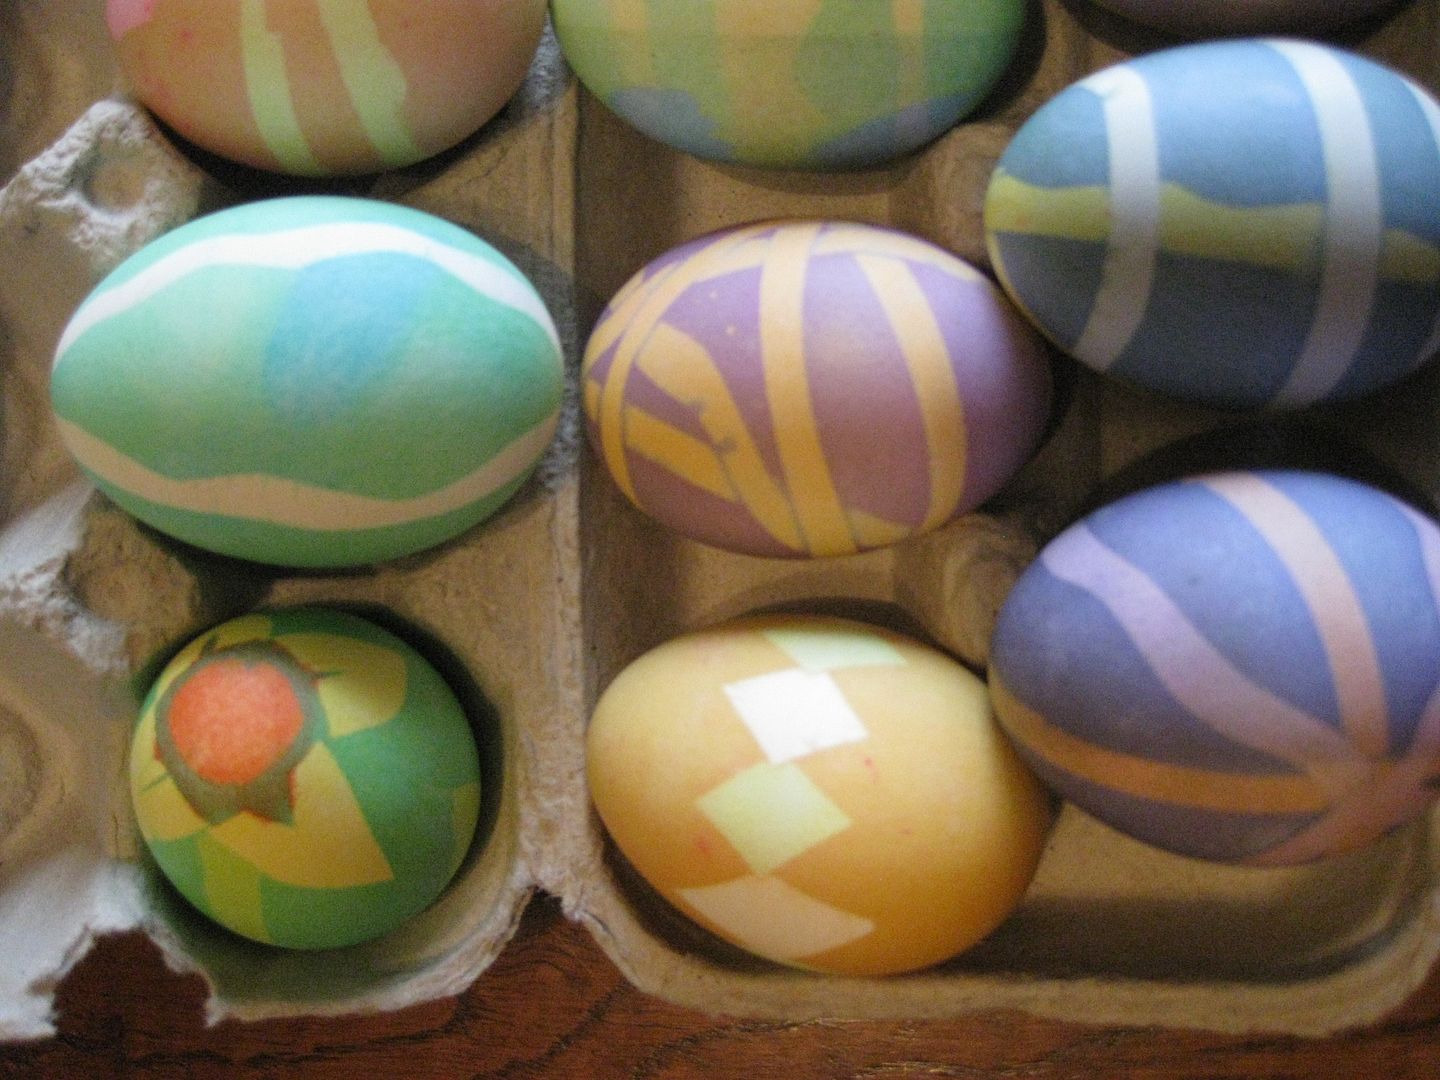
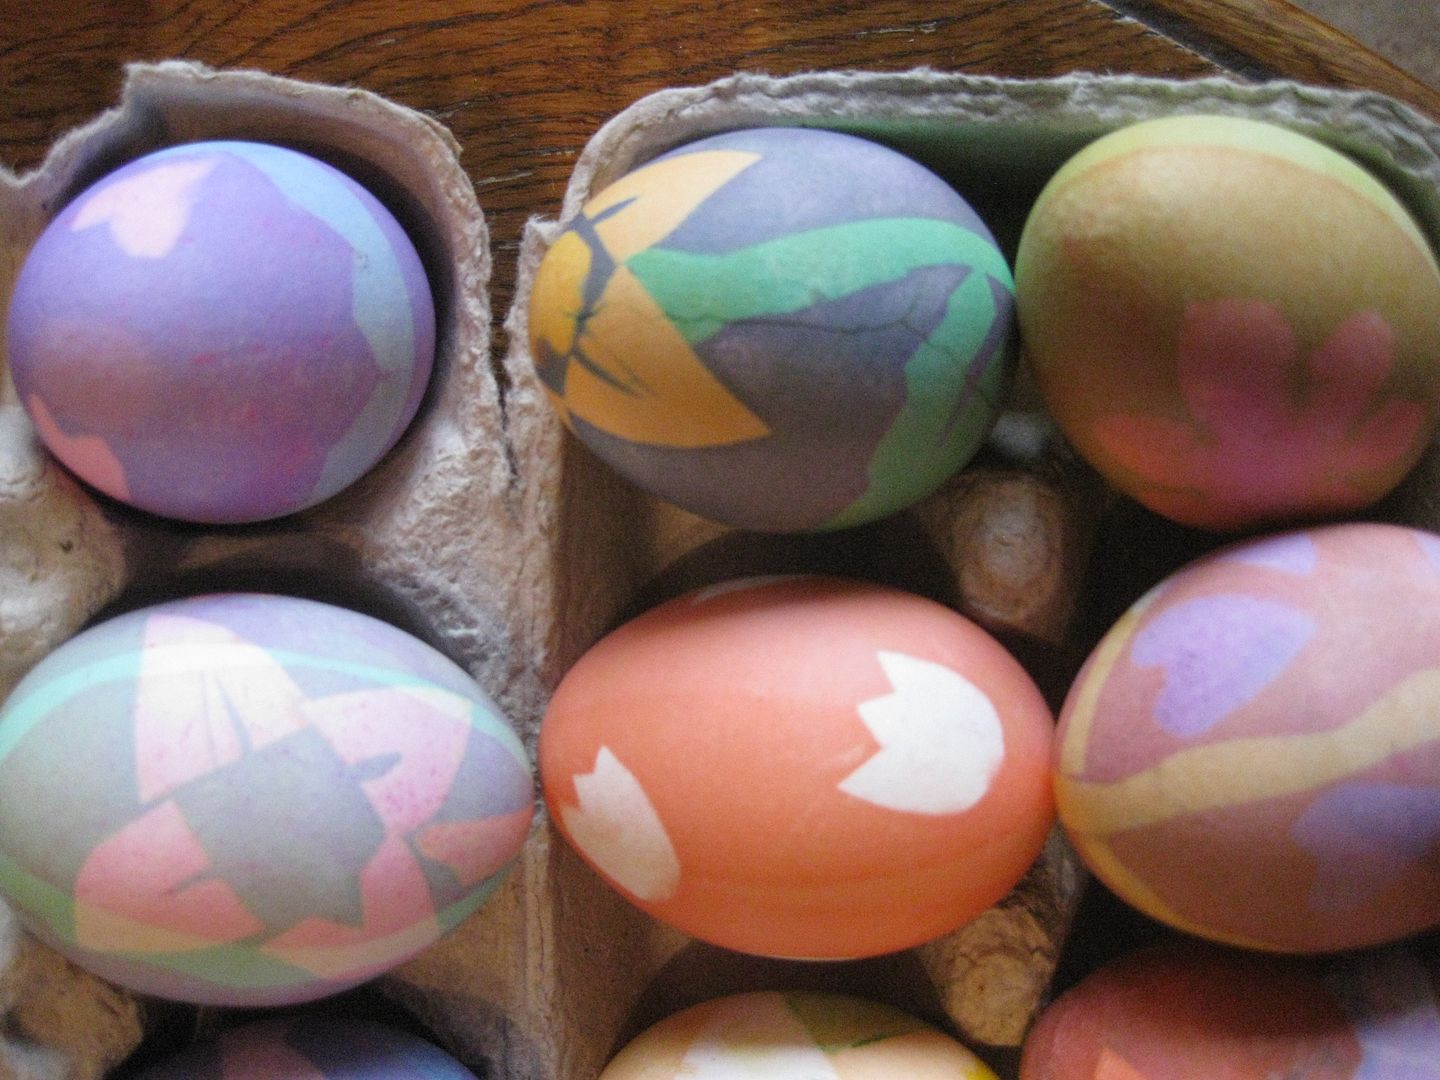
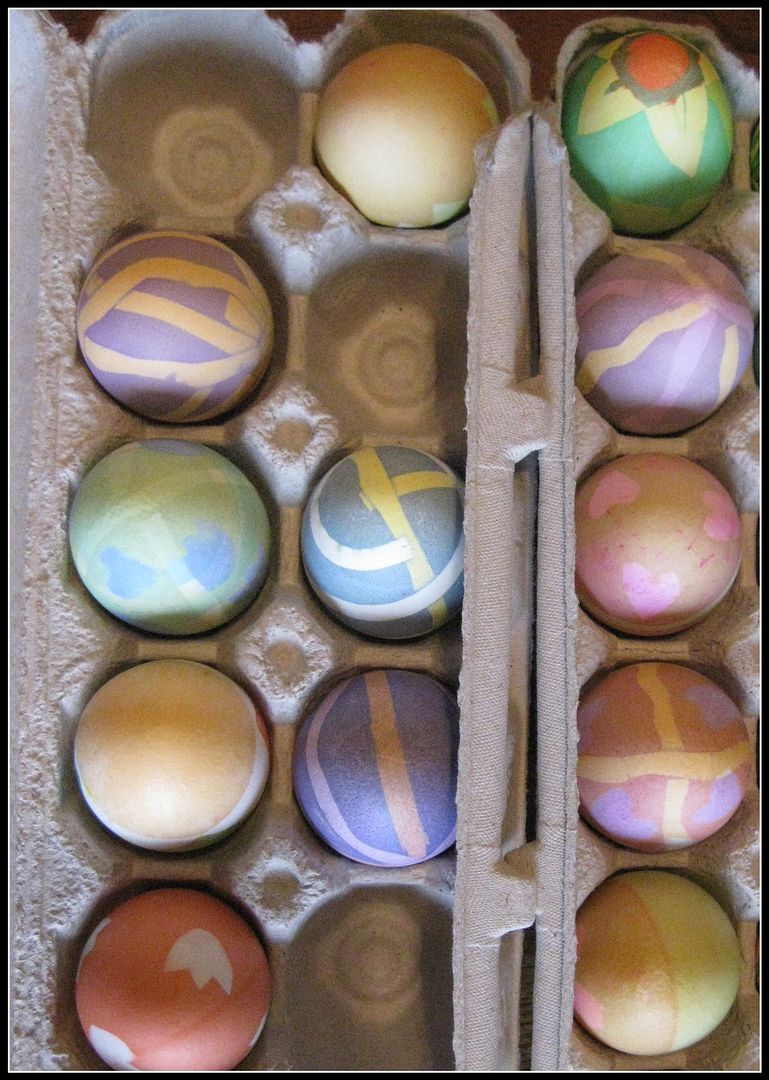
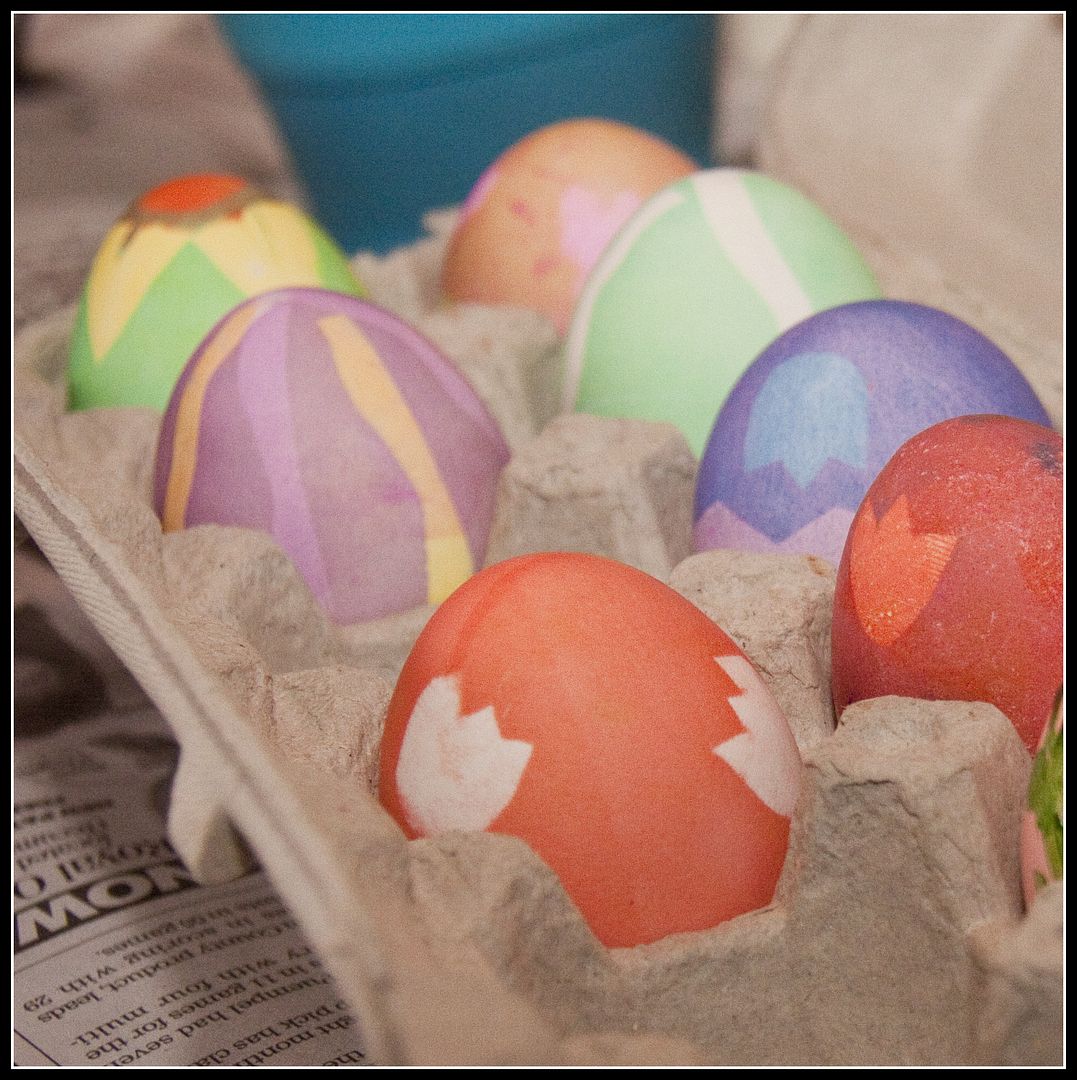
A few years ago my nieces, my sister, my mom & I decorated our Easter Eggs using this Electric Tape Stencil Method. So much fun!
You will need:
-Hard boiled Eggs (How to cook hard boiled eggs - click HERE)
-bowls (for different egg colors)
-electric tape (it must be electric tape -other types of tape will not work)
-scissors
-optional (Q-tips for dabbing color, paper towels for dyed finger mishaps, newspaper to cover the table first)
There really is no right or wrong way of dying eggs using this method - well, maybe one thing - you must be patient & wait for each color to dry before adding electric tape.
Tip - if you have a sheet of labels or some kind of sticker that is almost totally used, then take the waxy paper that is left after peeling the label away. Place a piece of electric tape on this waxy paper and cut your shapes - this makes it easier and your scissors won't get so sticky.
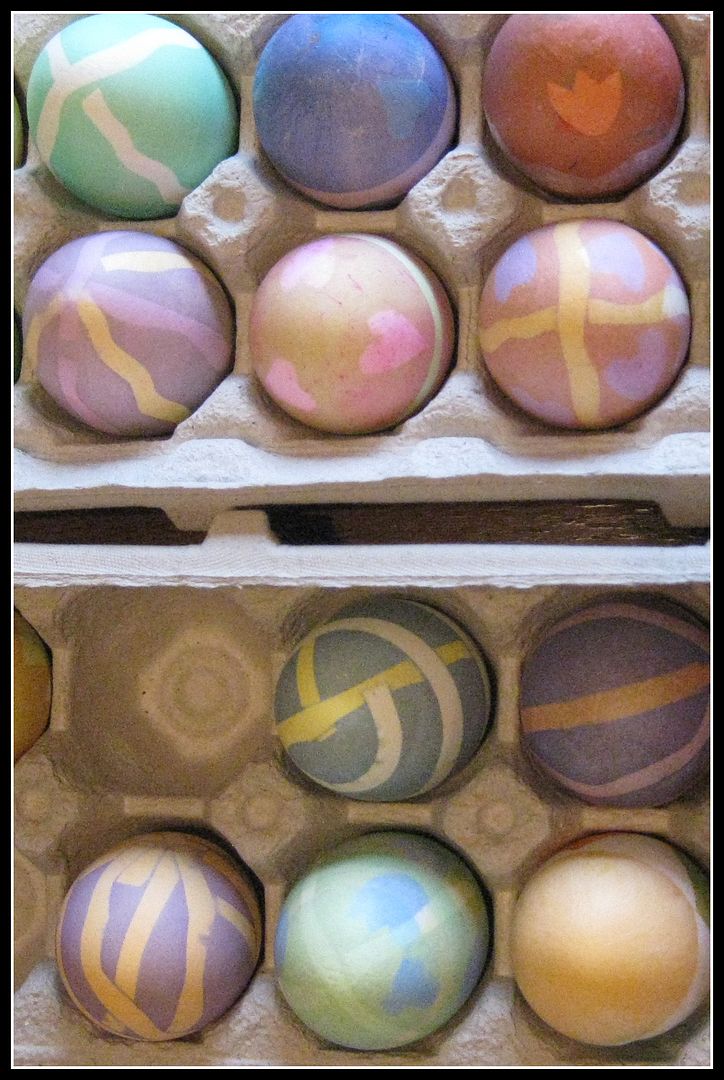
Start by cutting the electric tape into shapes, lines, scalloped lines, triangles, flowers, hearts, leaf shapes etc - whatever your heart's desire. Place the tape shapes on the egg, dye the egg, dry & remove the shapes. It's that easy.
Flower Example: Now, if you want a yellow flower, then you must dye your egg yellow first. After that has dried then you may place the flower shapes (that you already cut out of the tape) on the yellow egg (make sure you press the shape securely onto the egg - press along the entire piece of tape). Now dip that yellow egg into a blue or green dye with the flower shape tape still on the egg. Remove from the egg from the dye, allow to dry and then remove your stickers - You will have a green egg with yellow flowers. (you may continue layering colors and shapes - keeping in mind that each color you add will mix with the color below and become muddled and darker each time).
Experiment! Be Creative! Have Fun! There is no wrong Easter Egg! ENJOY!!
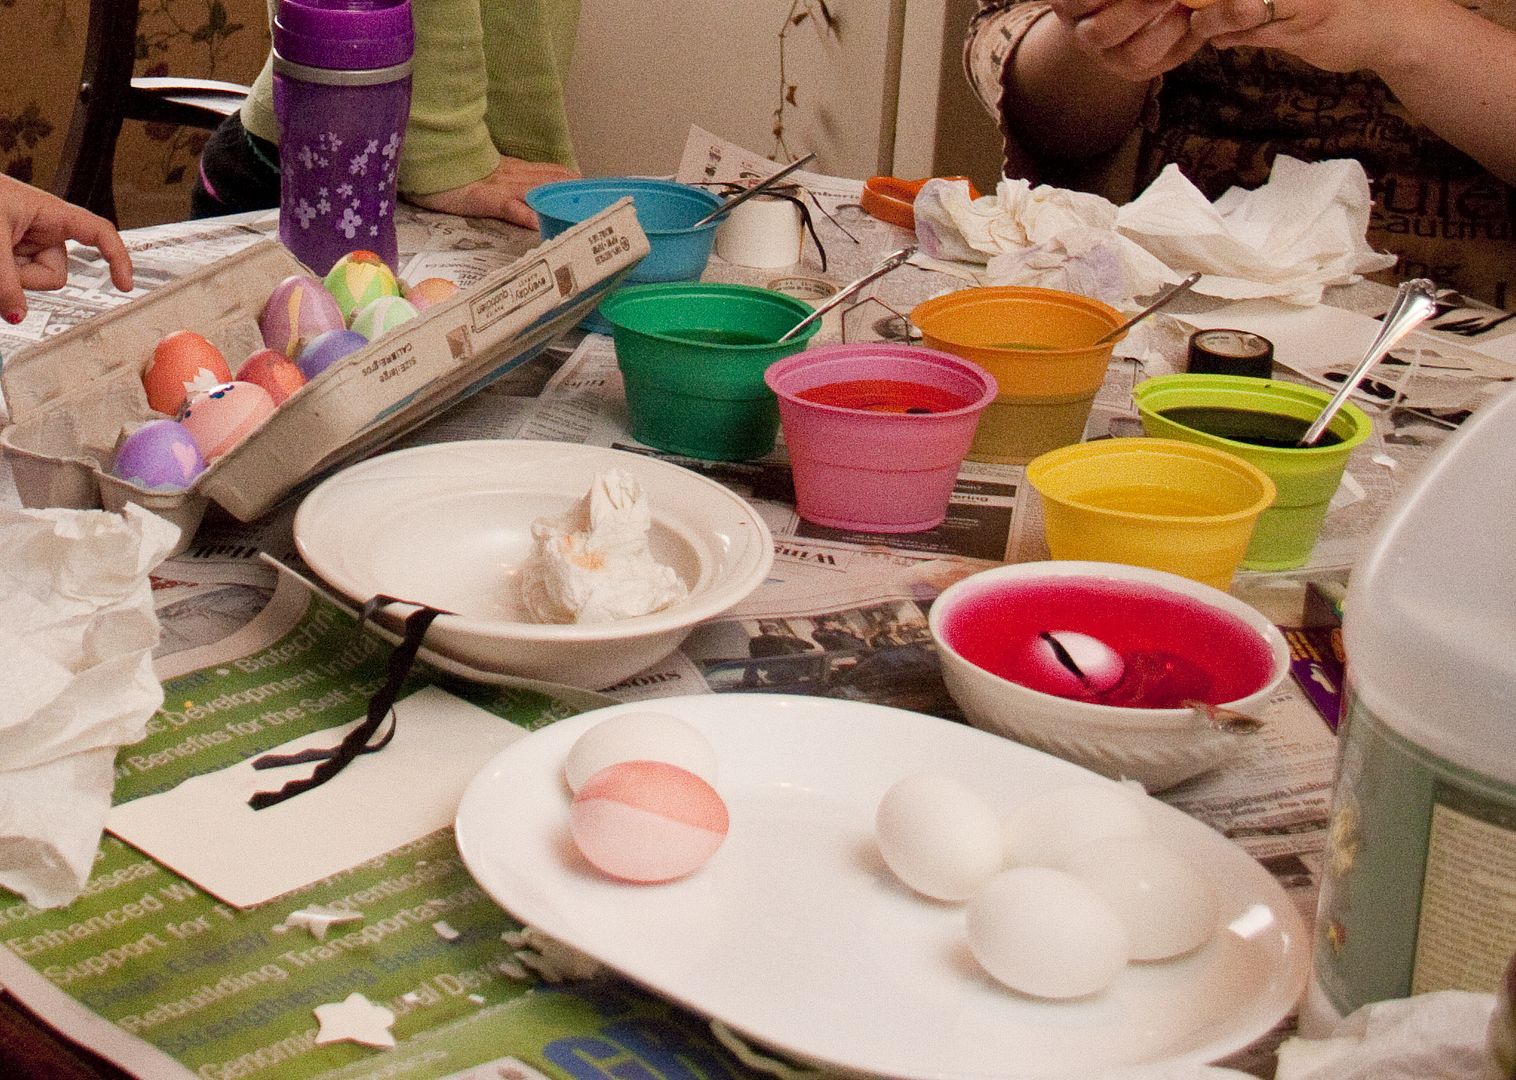
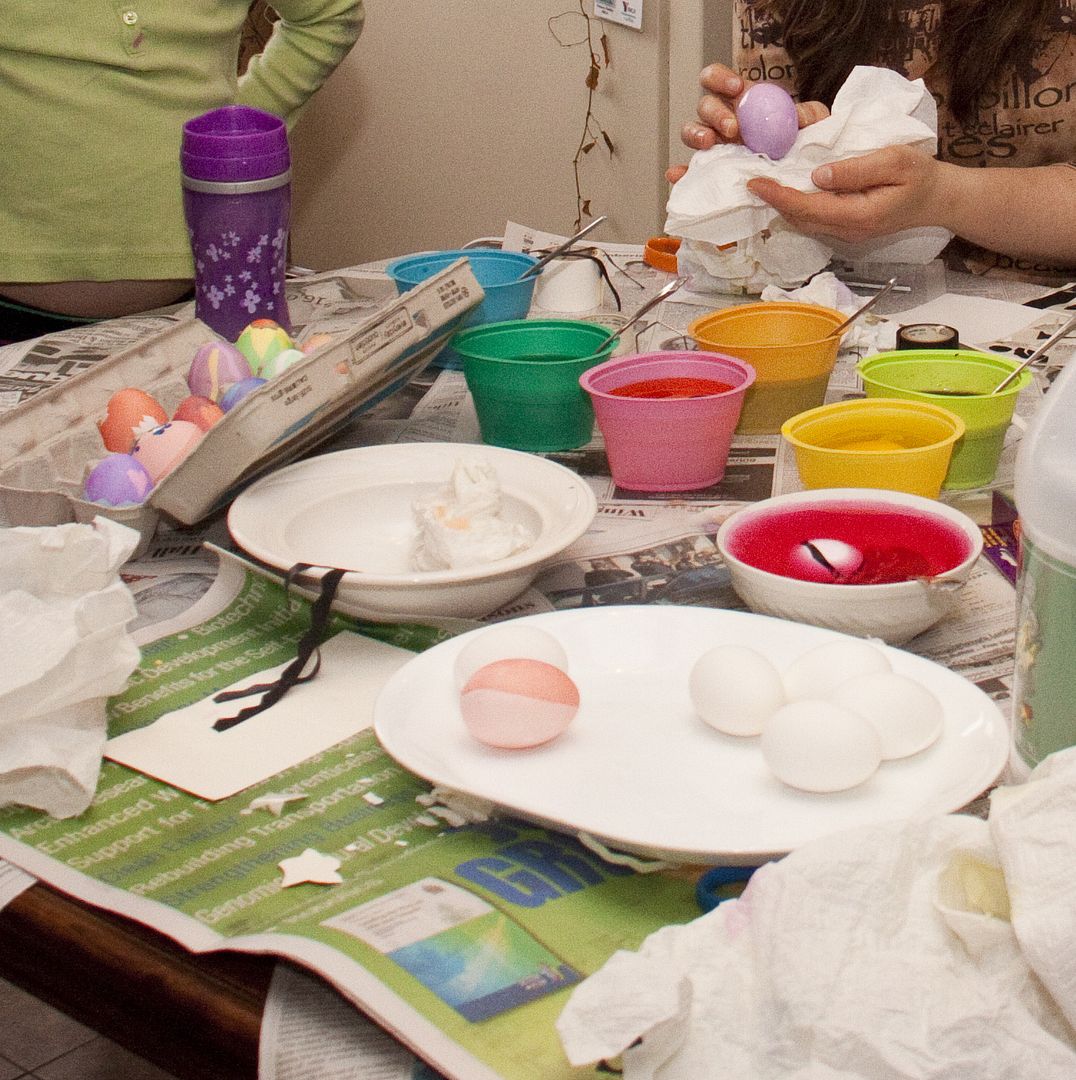
As you can see in the picture above - in the white bowl with red dye - the egg has a piece of tape which will create a line on the egg.
The middle of the sunflower in the picture above was dabbed on using Q-tips - that was the last step for that egg pattern
The purple egg that I am holding in the picture above is wet and therefore NOT ready for electric tape shapes.
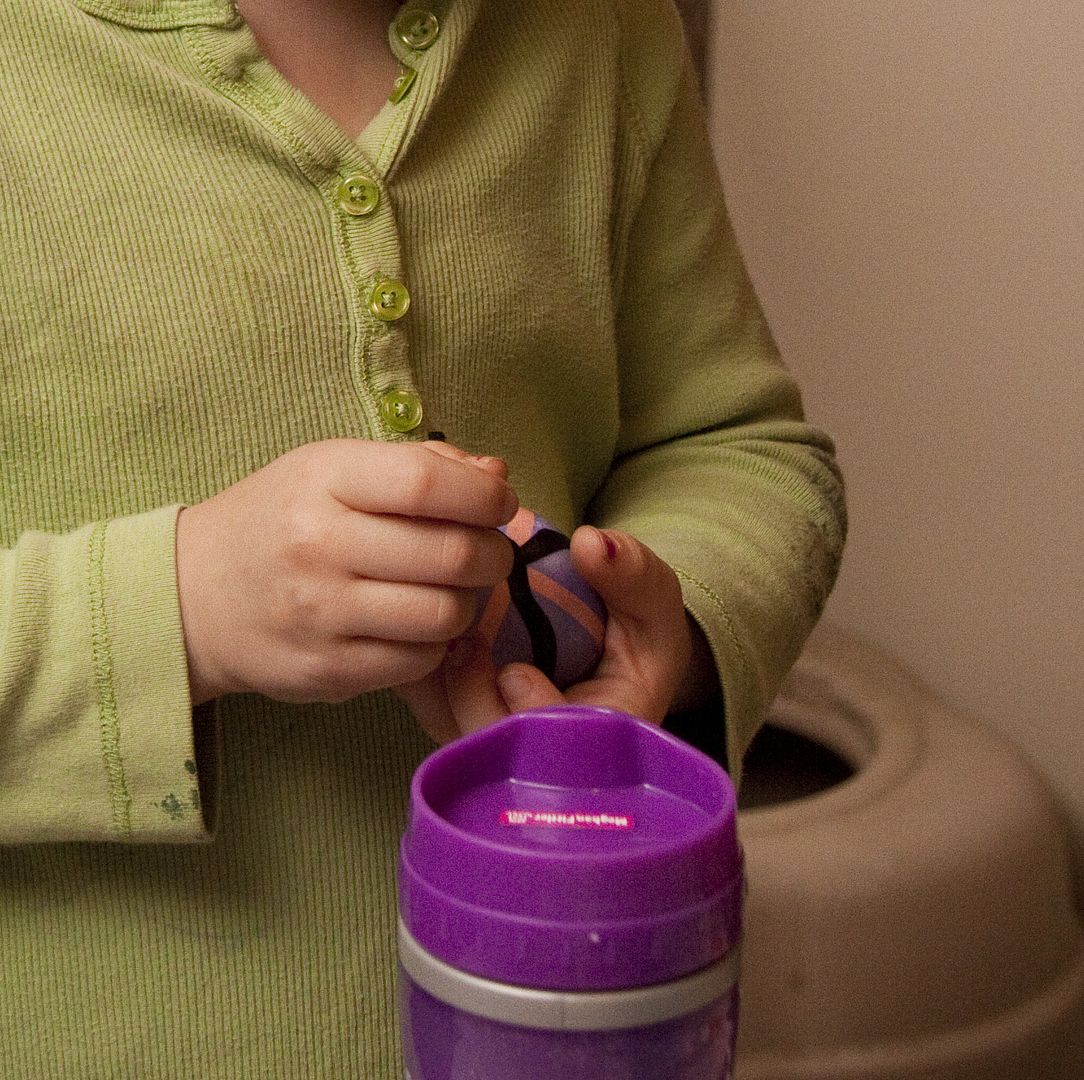
One of my twin nieces (in the picture above) removes the electric tape revealing a pink line below!
"For God so loved the world that he gave his one and only Son, that whoever believes in him shall not perish but have eternal life." John 3:16

Freedom Fridays
Weekend Retreat Link Party
Serenity Saturday
SITSSharefest
Countdown in Style
Inspiration Monday
Turn It Up Tuesday
Adorned from Above
Mommy is Coocoo G+ Party
Four Seasons Blog Hop
The Homemaking Party
Thursday Favorite Things
Happiness is Homemade Link Party
Wonderful Wednesday Blog Hop
Handmade & Handcrafted
You're the STAR
Celebrating Spring Link Party
Wednesday AIM Link Party
Themed Linkup - Spring Crafts & Decor

______________________________________________________________________
Please checkout this month's wonderful Sponsor!!
Cynthia Tessmer from "Shoreline Designed" creates Natural Beach Stone Jewelry



This is such a great idea! I can't wait to make some eggs now!
ReplyDeletethese are too cute. Pinned to my Easter board. This will be Bubbas first year to dye eggs, can't wait.
ReplyDeleteAngel
They are so cute and what a great idea! I don't know if my boys would have the patience but it might work with our little girl here. :-) Thanks for sharing and have a blessed evening. :-)
ReplyDeleteAbsolutely love these eggs! So colorful and creative :-)
ReplyDeleteThose eggs look amazing! I think I'll give this a try but not so sure mine will look as nice as yours! :)
ReplyDeleteI LOVE how your eggs turned out! Using electrical tape is a great idea and I love the endless possibilities!
ReplyDeleteI love the egg with the flowers. And thanks for the tip on using the electrical tape.
ReplyDeleteMy girls would love this.
ReplyDeleteAngela @ Time with A & N
Every year I think about making Easter eggs, and the day comes and goes and I completely forget! Thanks for reminding me in time to get it done FIRST and linking up with Countdown in Style!
ReplyDeleteThis looks like a great idea for coloring Easter eggs. Thanks for sharing this with us at the Four Seasons blog hop. I will share this!
ReplyDeleteThis comment has been removed by the author.
ReplyDeleteThere are so many different ways to decorate eggs and this is a great idea, looks pretty! Thanks so much for linking up at A Themed Linkup 100 for Spring Crafts and Décor. Pinned.
ReplyDeleteCONGRATS Angie! Your post is FEATURED at A Themed Linkup 101 for Tablescapes from the previous linkup for Spring Crafts and Décor.
ReplyDeleteThank you so much! I'm thrilled to be featured! (sorry about my delayed response - I'll head over there now).
Delete