CANNING: Use Your Pear Peelings in Your Syrup for Fabulous Flavor
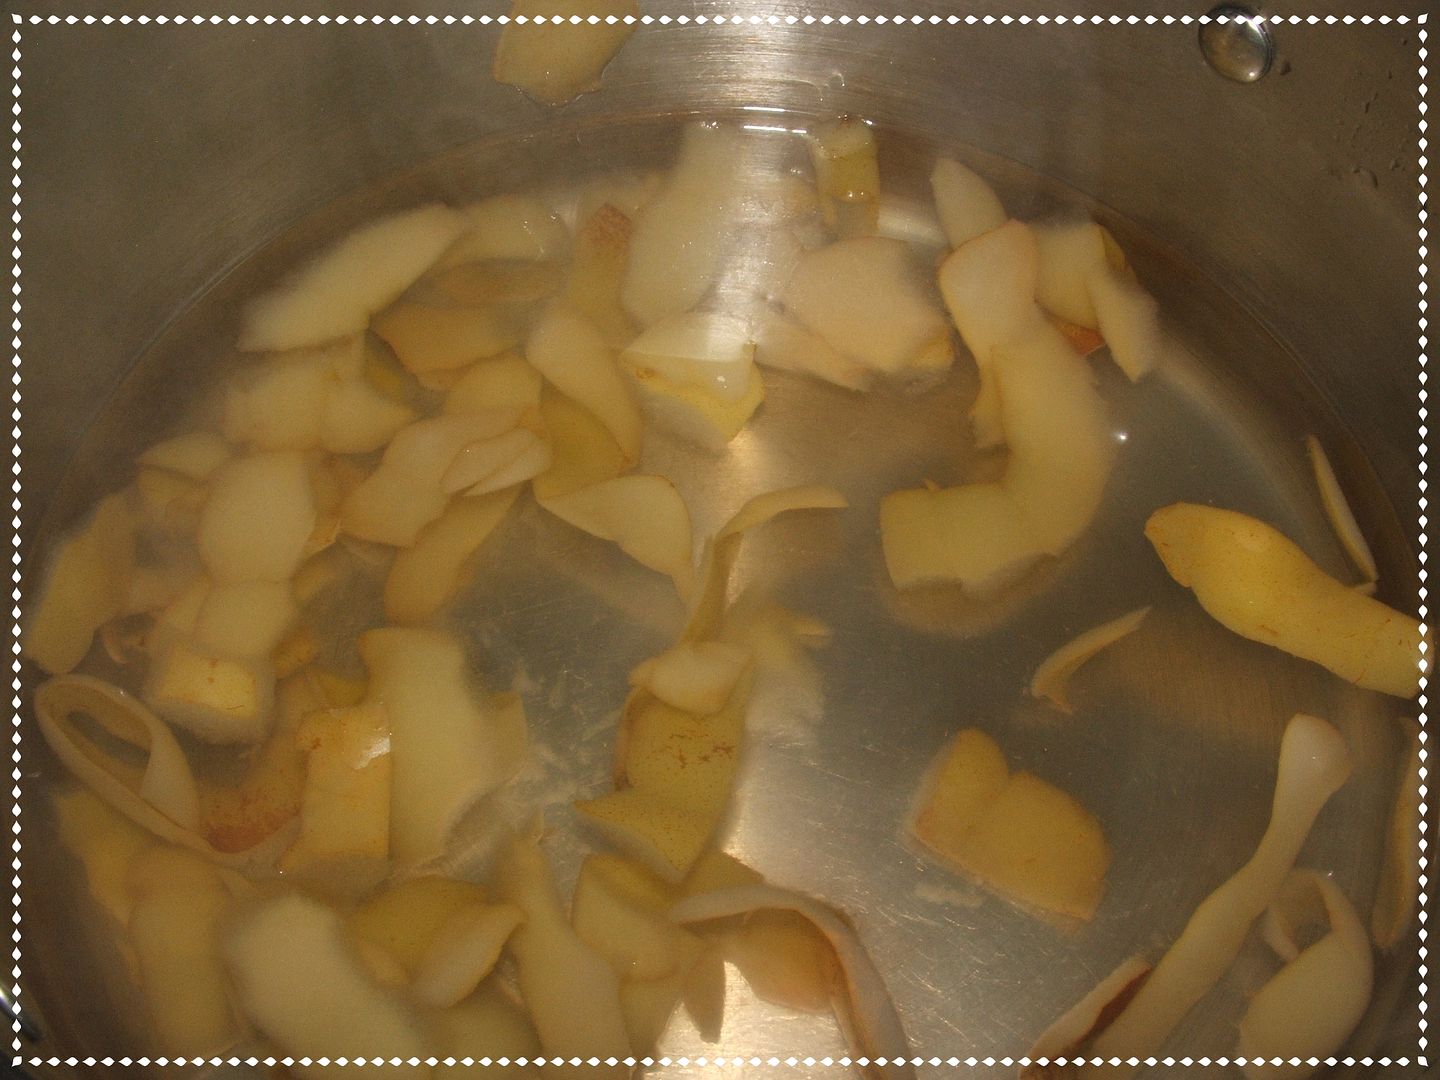
My dad had a bumper crop of organic pears this year and he shared some of his precious produce with me! (Thank you dad). As I was peeling these pears in preparation for canning I said to myself: "what a waste - there is so much flavor in the peelings!" So, I added these peels to the syrup and WOW - what flavor! (I also made some pear juice with some of the peelings - I might share that with you at a later date).

This recipe makes 4 to 5 quarts of pears (depending on how tightly you pack the pears and on the size of the pears)
40 to 50 pears (peeled, cut in half & cored) (IMPORTANT: soak the cut pears in water with lemon juice to prevent browning until your syrup has boiled).
pear peelings (keep half of the pear peelings and then compost the other half)
6 cups water (filtered preferably)
3 cups sugar
juice from 1 lemon (2 lemons if you are soaking the peelings in water before you boil them in the syrup)
Prepare the pears as listed above and place the reserved peelings in a different bowl with water & lemon juice (I picked out the best peelings for the syrup - if there was a blemish or tough area then I composted those lesser skins). In a large stock pot pour the water, sugar & stir until sugar is dissolved. Then add the peelings that you set aside earlier to the syrup. Place the pot (syrup) on medium heat and bring to boil - once it starts boiling turn it down & simmer for 30 minutes. While you are waiting for the syrup to boil - Gather your canning jars, lids and rings (you will need 4 or 5 quarts). (see Canning Basics - Jar Sizes). Also, gather all other canning supplies: (see Other Canning Supplies). Start the water boiling for Jar sterilization: (see Sterilizing Jars & Lids) - once it has boiled begin sterilizing your jars.

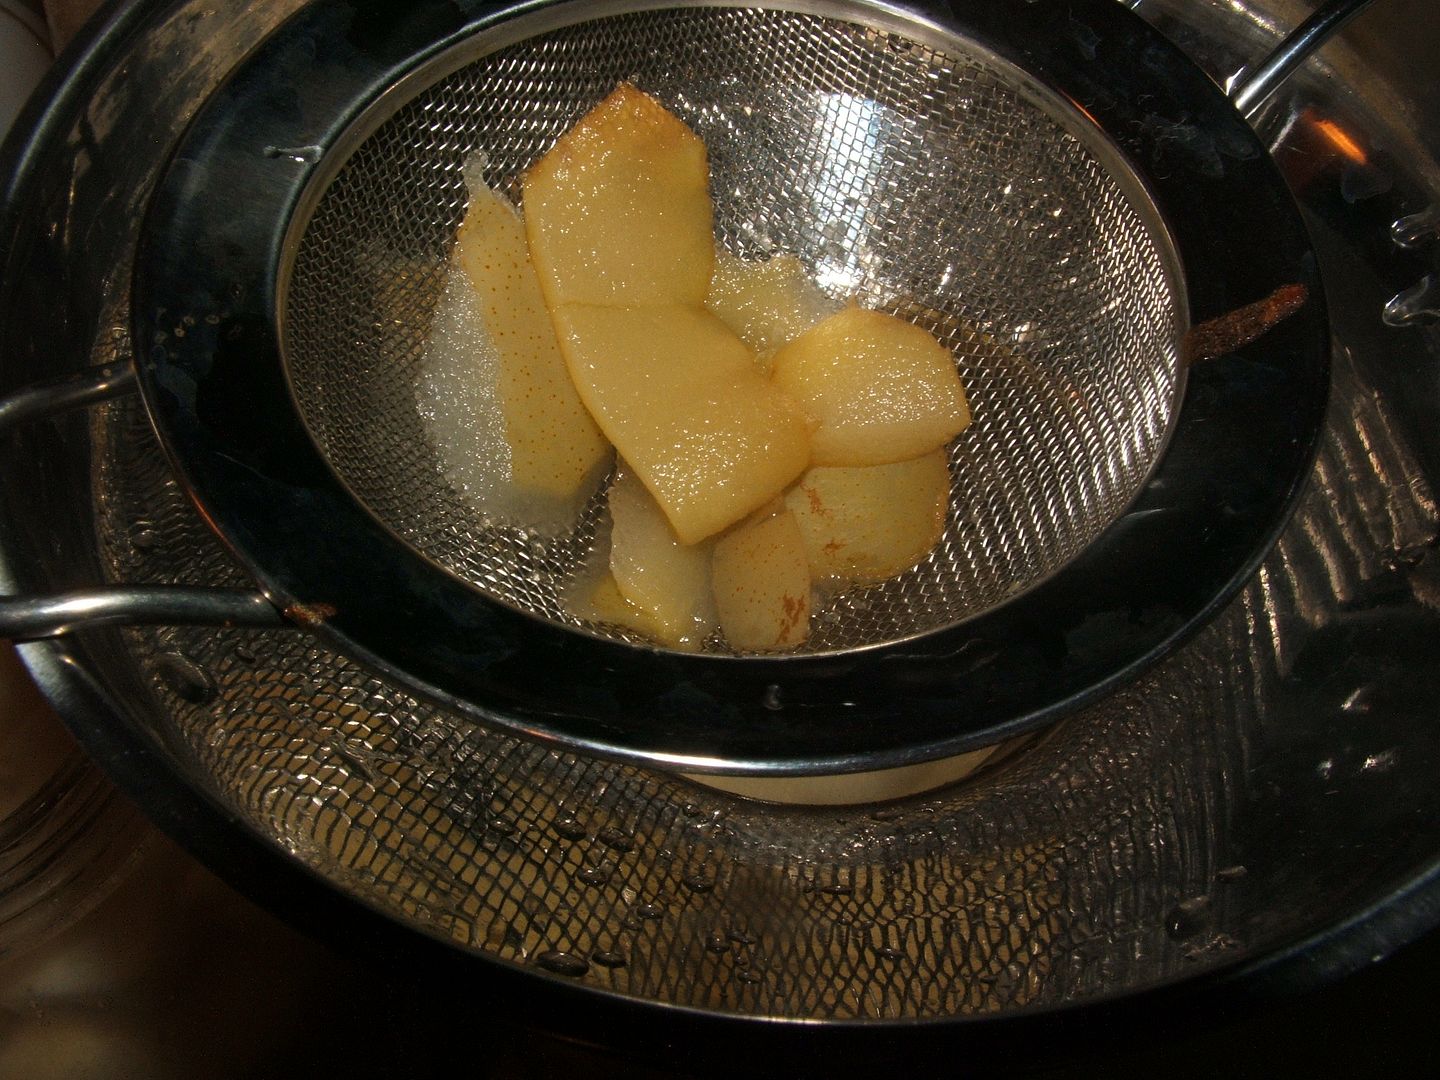
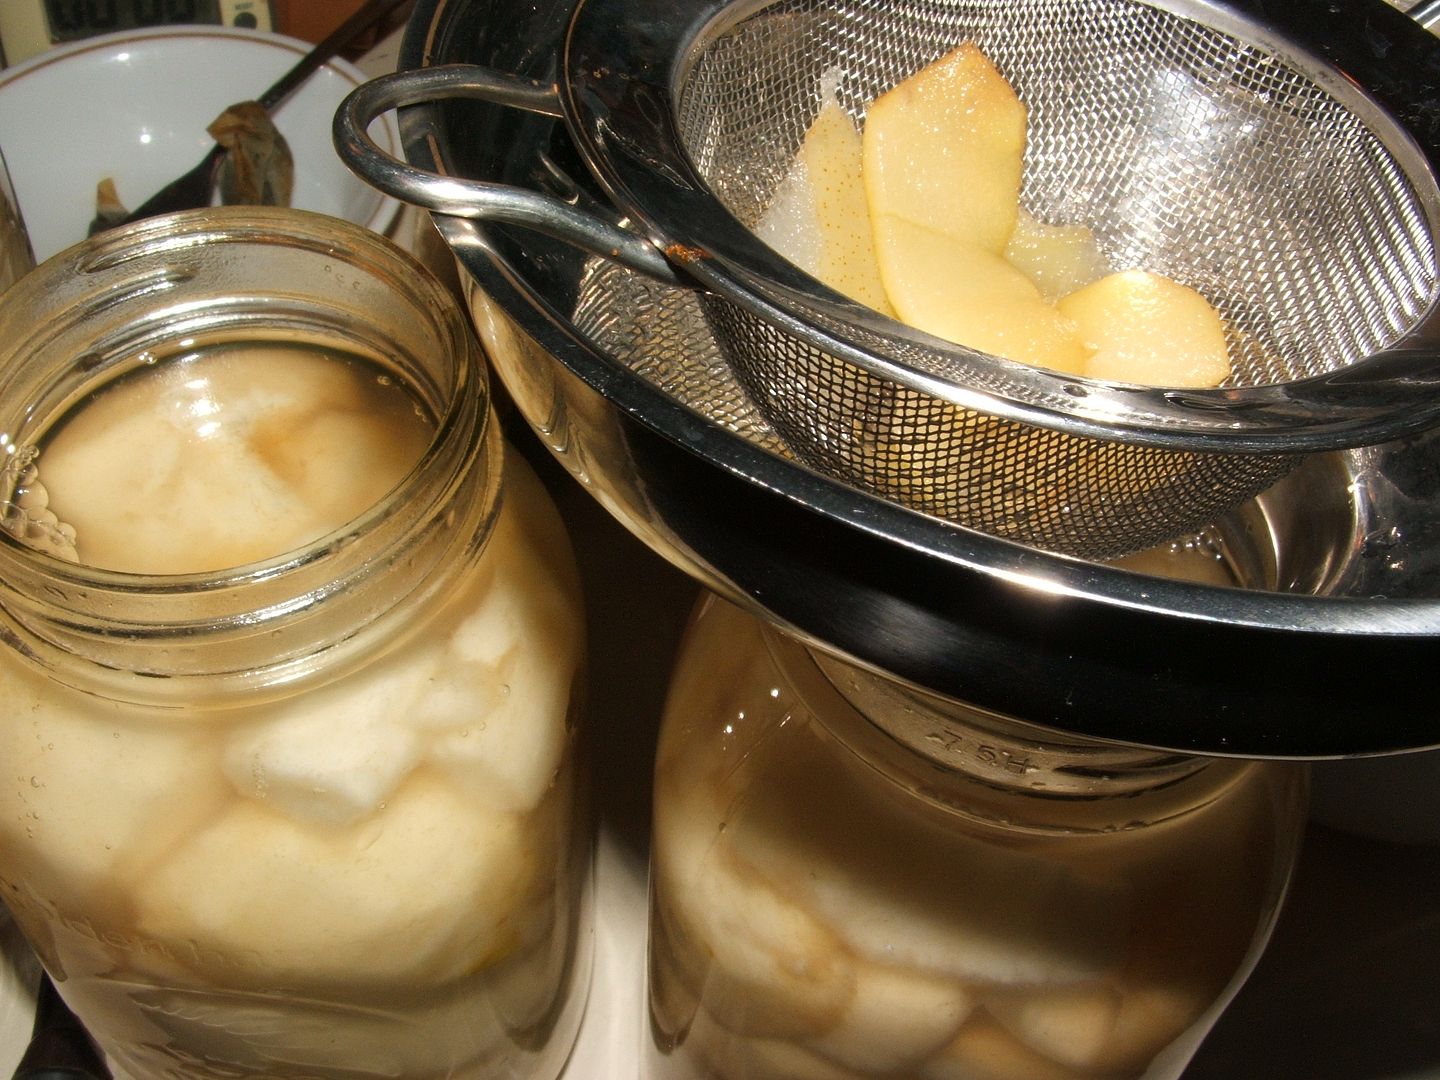
By now your jars should be sterilized and ready to be filled. Take the jars out of the boiling water (I use my jar remover and make sure that the water is drained out of each jar). Now you will "cold pack" (click to see the difference between Cold Pack & Hot Pack) the pears into each jar. Continue filling the jar with more pears until there is about 1 inch headspace. Ladle the syrup on top of the pears (into each jar) making sure not to go above the bottom of the threads on the jar. When pouring the syrup you will insert a small strainer to catch the peelings - the flavor has been extracted from the peelings & is now in your delicious syrup (see picture above or below). Continue filling until all of the jars have been filled. Insert a thin plastic spoon to release any bubbles from the jar. Wipe the rim of each jar with a damp cloth making sure that any syrup residue is gone (any residue left on the rim can stop the jar from sealing). Place a sterilized lid on each jar and then tighten a ring on each jar. Place all jars in a "Water Bath Canner" and process (boil) the filled jars for 30 minutes (make sure that the water level in the Canner is 1 inch above the tallest jar)
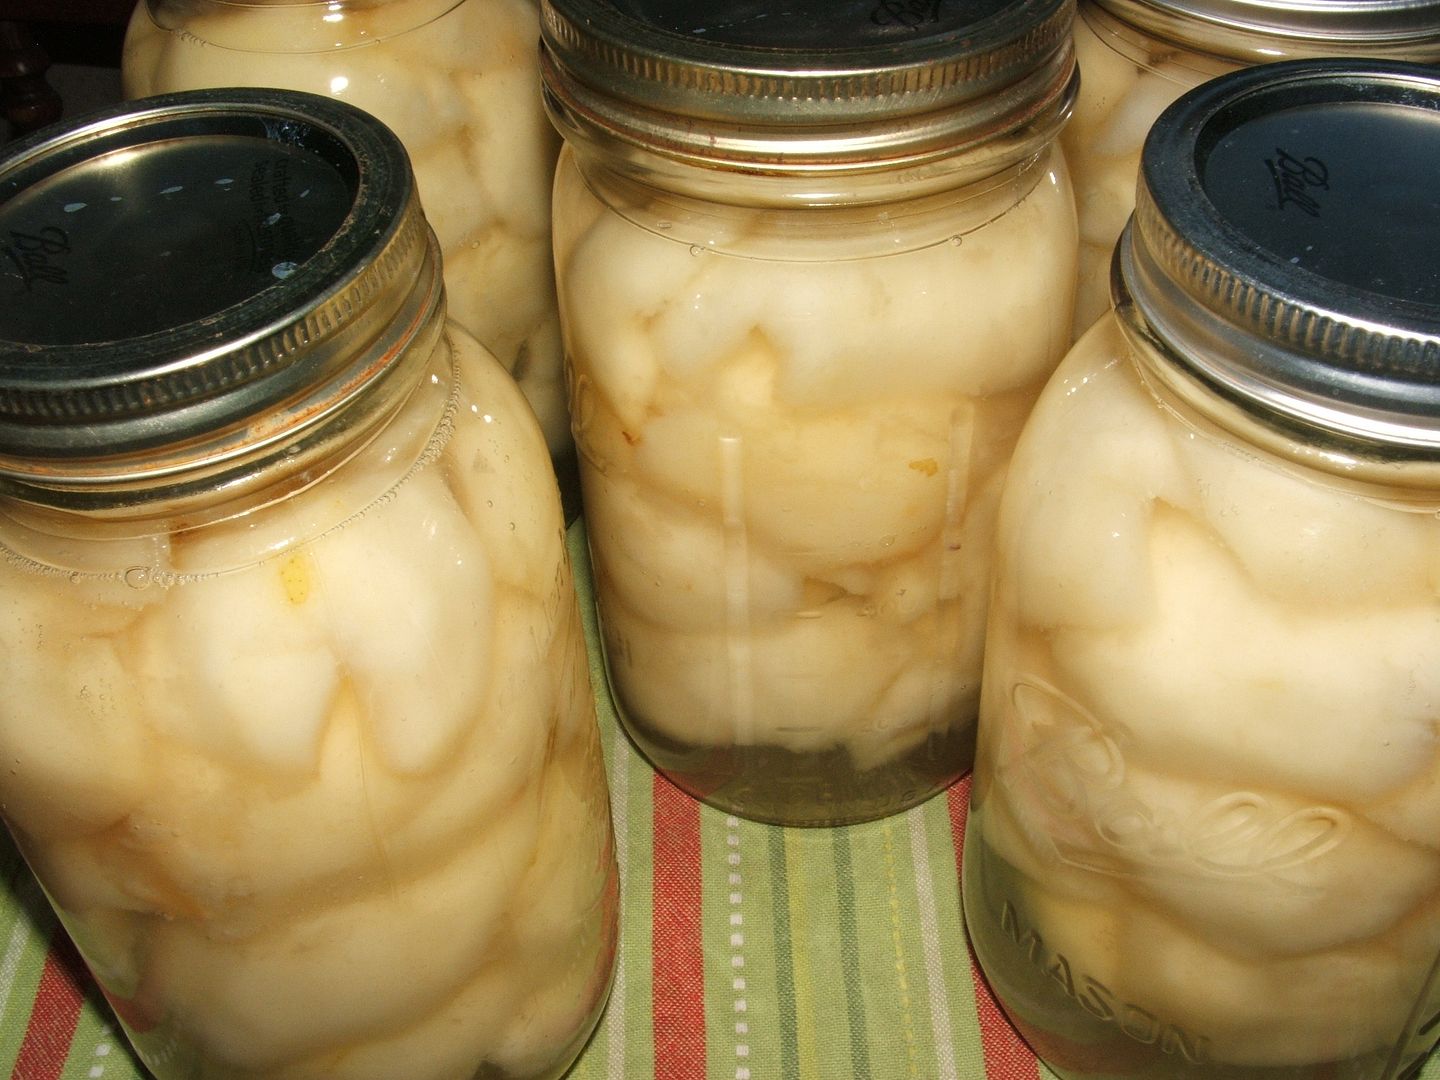
After boiling for 35 minutes remove the jars and place them on the counter or table to cool (I always place them on a cloth because there have been a few times when a jar cracked and then the contents oozed out making a mess - the cloth will help if that happens). You will hear the wonderful popping sound of your jars sealing.

Allow to cool for 24hours and then store in the pantry until winter when you will be able to enjoy preserved garden fresh produce!
IMPORTANT: If any jars have NOT sealed, then store those in the fridge & eat within 1 month.

Copyright, Permissions& Disclaimer

Linked to:
Happiness is Homemade
Turn It Up Tuesday
Meandering Monday
LouLou Girls
The Art of Homemaking Mondays
Tuesdays with a Twist
Tickle My Tastebuds
Wonderful Wednesday Linky
#WakeUpWednesdayLinky
Dream, Create, Inspire, Link
#ChainLinkyCLIMB
Our Simple Homestead Blog Hop
Freedom Fridays
Snickerdoodle Sunday
Thursday Favorite Things
_____________________________________________________________
(Checkout this month's wonderful Sponsor!)
Visiting this warm blog is a definite treasure find! Colleen hunts treasures and shares them with us on her lovely blog.
(click on the button below to visit her blog)
Also, checkout her beautiful Etsy shop: "Postcards in the Attic" CLICK HERE

I've never thought to use the peels! I'll have to remember this in the future. Pinned! Stopping by from Happiness is Homemade.
ReplyDelete