Sunday, July 31, 2011

No Sleeping During Harvest

"He who gathers crops in summer is a wise son, but he who sleeps during harvest is a disgraceful son."
Proverbs 10:5

This verse has to do with laziness and perseverence.

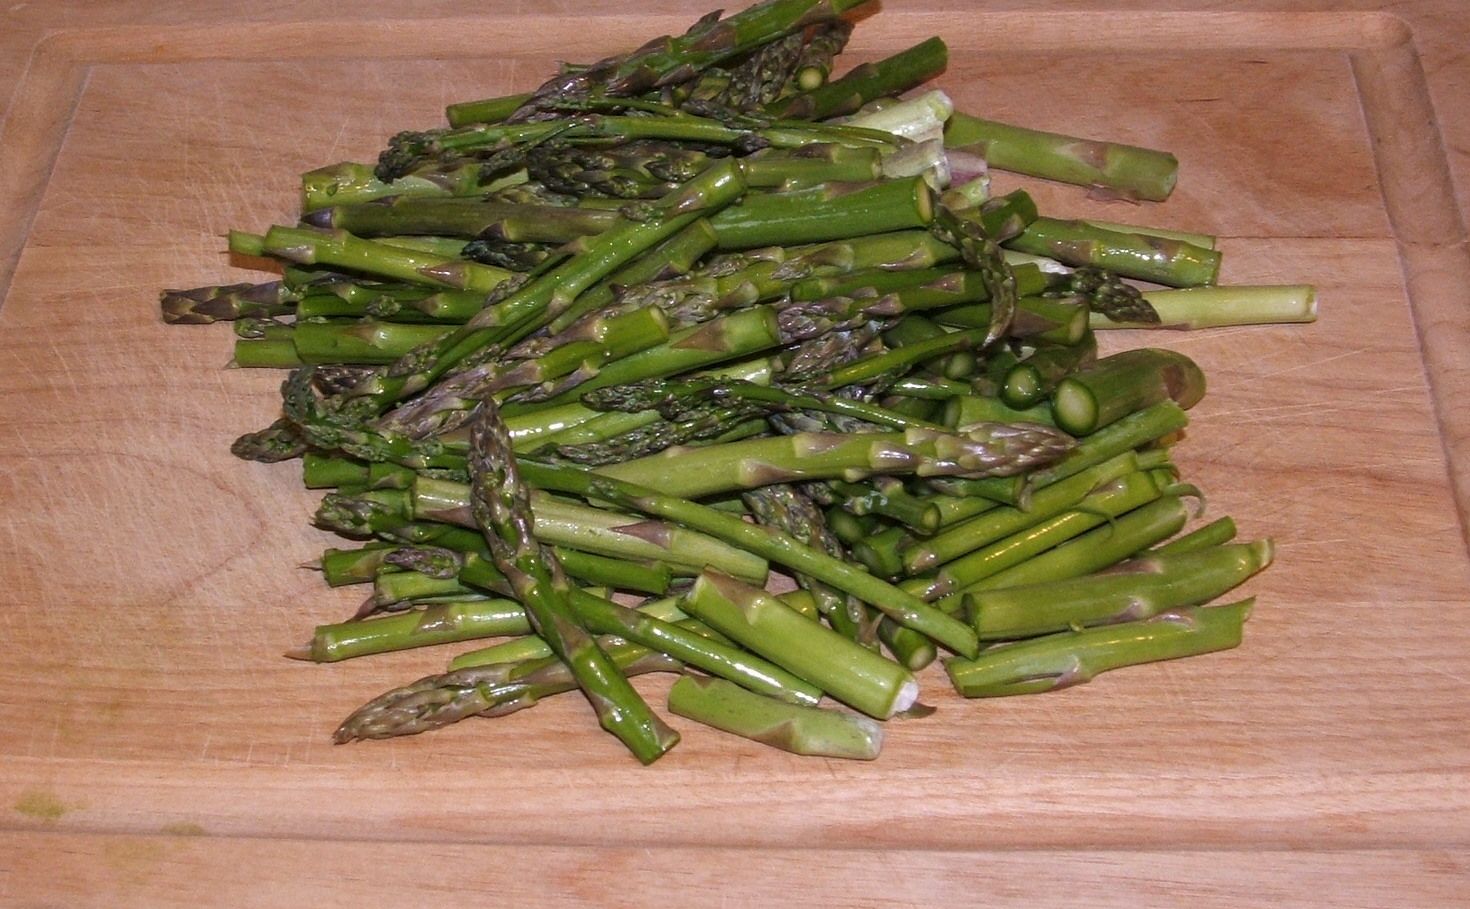
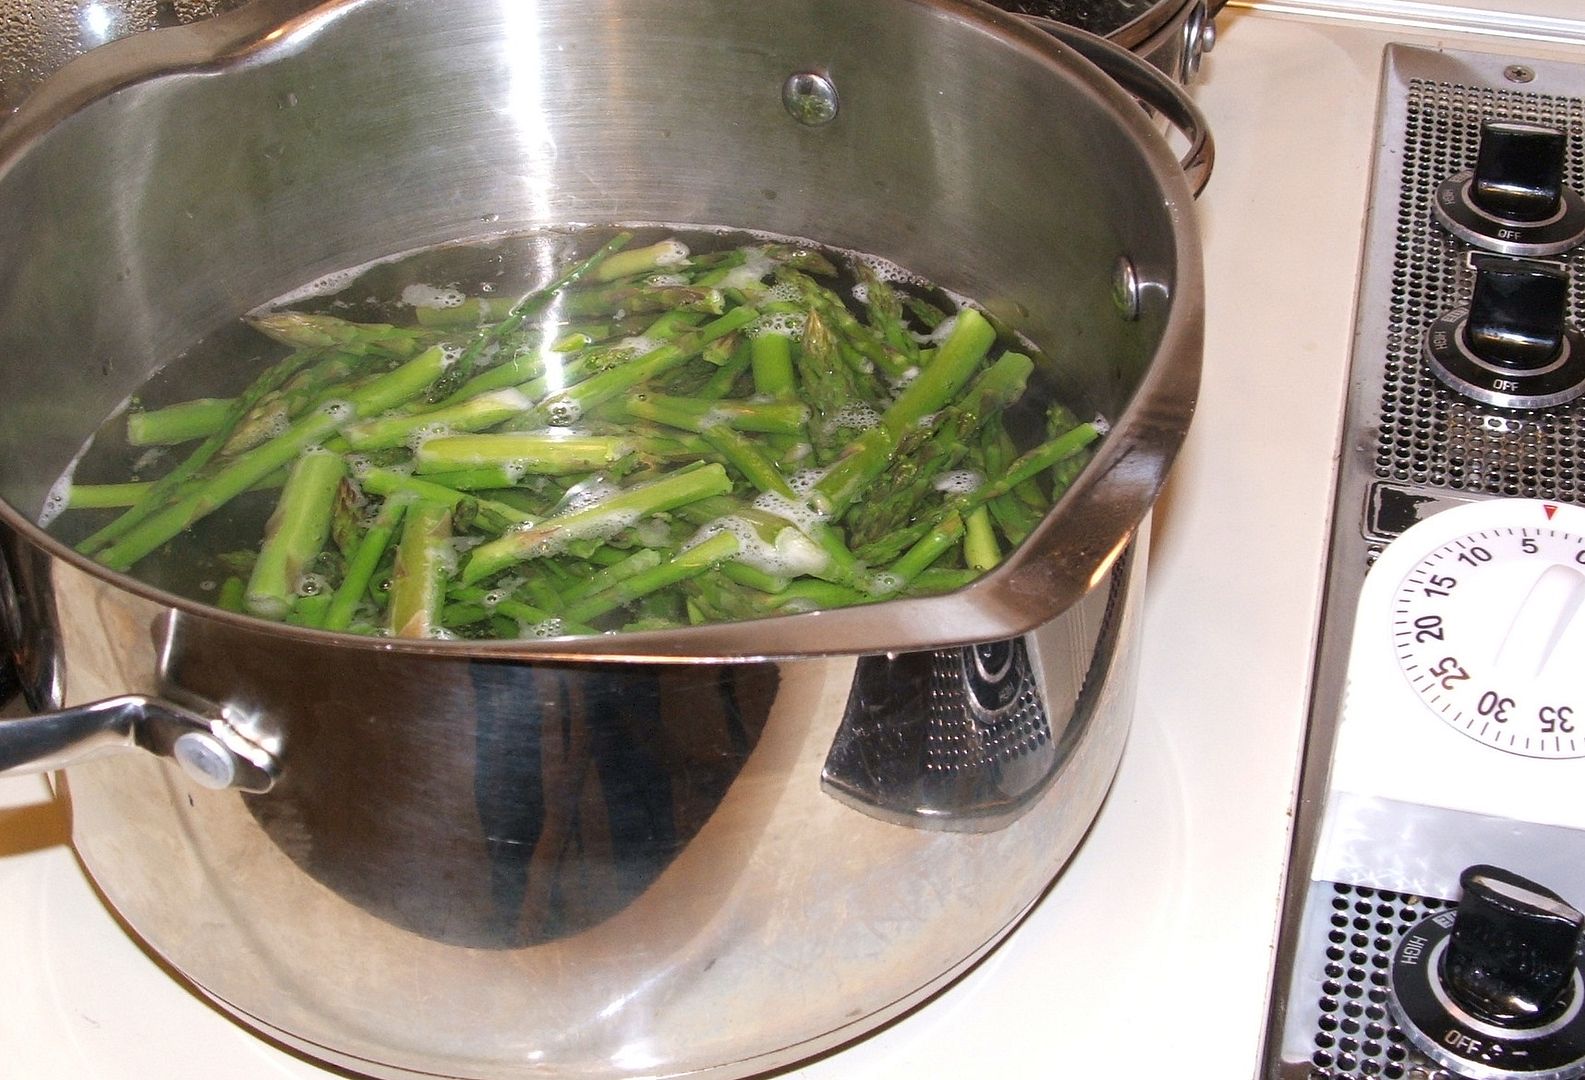
When fruit and vegetables are ripe they must be harvested immediately otherwise they will rot or more likely they will be eaten by squirrels, racoons and birds.  It has happened to me twice: once with my sour cherry crop and the other time with my concord grapes.  I was so exhausted and I knew that the fruit was ripe but I said to myself "I can just pick them tomorrow."  It's shocking how quickly birds can devour cherries off of a cherry tree.  I was able to harvest maybe 1/3 of what had been there the previous day - it truely was a disgrace.

When we are most exhausted is when the harvest is the most plentiful - and I believe that it is the same with our spiritual life.    During times when I am most tired are when situations arise where I need to "step up to the plate" and be of service to someone else.  For example - Maybe you just got home from a tiring day at work and the annoying neighbor is asking if you've seen his lost dog.  "Stepping up to the plate" would be going out and helping him search for his dog even though you're exhausted.  Or maybe you've just finished grocery shopping - your cart is full and both your children are very cranky but you notice this little old lady struggling with 1 grocery bag.  "Stepping up to the plate" would be carrying that 1 grocery bag and helping her to her car even though it's on the opposite side of the parking lot from your car.  These situations would glorify God and are all part of God's spiritual harvest.

It's a test really and endurance develops our character.

Let's always pray for God's strength but especially during harvest time.

Saturday, July 30, 2011

Crock Pickles


Crock Pickles

Crock Pickles are totally different from regular dill pickles and bread & butter pickles.  I enjoy all three kinds of pickles equally but they all have their own unique taste.  Crock pickles are actually fermented and therefore are supposed to be the most healthy out of the three kinds listed.  It's kind of like the good bacteria in yogurt - great for your digestion.

In my opinion the best crock is the "Harsch Gairtopf Fermenting Crock Pot" (as seen in the amazon.com ad above).  This crock has a special water seal edge that prevents any air from getting in and disturbing or ruining the fermentation process (and stops stinky air from getting out - especially when doing sauer kraut).


Pickling cukes that have been washed & scrubbed - ready for pickling


The Recipe

3 lbs. fresh pickling cucumbers (washed & scrubbed)
3/4 cup pickling salt (or Kosher salt)
6 cloves of garlic (peeled)
3 large onions (peeled & sliced into circles)
6 large dill heads (as seen in the picture below)
8 tender fresh grape leaves (washed)
1 tablespoon mustard seeds
Filtered water (enough to cover 1 inch above the cukes in the crock) (amount will vary according to the size of your cukes)

Wash, scald & dry your crock.  Prepare the ingredients above as listed above.  Disolve the salt in 1 quart of filtered water by heating it almost to boil (just until you start hear it sizzle around the outer edge of the pot). 

Place 4 of the grape leaves in the bottom of your crock.  Then, on top of the grape leaves layer half of the cucumbers, onions, garlic cloves, dill heads and 1/2 of the mustard seeds.  Repeat with the other half.  Top with the remaining grape leaves (both the grape leaves and the mustard seeds will help keep the pickles crisp).  Finally, pour the disolved salt water brine on top and add as much more water as needed to fill 1 inch above the last grape leaves.  Place the stones on top and then close the lid with the water seal.  


Wait 2 weeks and then you will have delicious crock pickles

To be continued in 2 weeks  - 8/12/11


Friday, July 29, 2011

Daylilies


Daylilies

The name says it all - the blossoms open when the sun rises and then close when the sun sets.  Actually, each flower only lasts 1 day and then a new one blooms on the next day.  There are many flowers to each plant/stalk.  Daylilies are very easy to grow - almost too easy - they are another one of those flowers that can take over your garden if you do not thin them every couple of years.
My favorite daylilies are the orange ones but they come in every color imaginable.
Daylilies are beautiful as cut flowers also.  Enjoy them outside and inside.


Thursday, July 28, 2011

The Basics of Canning - "Raw Pack" vs "Hot Pack"

"Raw Pack" vs "Hot Pack"

Now, here we are talking about "packing" our garden produce into Canning Jars and there are 2 different ways to do this.

1.  Raw Pack or Cold Pack is just what it sounds like it would be - placing your vegetables or fruits into your sterilized canning jars raw.  I want to be clear - these fruits & vegetables have been cleaned, dried and any blemishes or wormy spots removed.  Examples of "raw pack canning" are pickles, green beans and whole tomatoes.

2.  Hot Pack is of course placing your garden produce into your sterilized canning jars after it has been cooked or lightly warmed (while it is still hot).  Now you are also able to "hot pack" pickles, green beans and whole tomatoes but I always do those 3 "raw pack."  Examples of only "hot pack" canning are: jams, jellies, tomato sauce and apple sauce.

There is a controversy as to whether "raw pack" is safe - I have been "raw packing" my pickles, green beans and whole tomatoes for decades and (thankfully) I have never had a problem.  But remember - even when "raw packing" there is always a boiling liquid brine that is poured over top of the cold vegetables/fruits.

Cleanliness is the key to safe canning!

Wednesday, July 27, 2011

Mom's Simple Savory Salad

Mom's Simple Savory Salad

This simple yet scrumptious salad only includes 3 main garden fresh ingredients:

2  large tomatoes (washed and chopped)
2 medium green bell peppers (cleaned out and chopped)
1 large english cucumber or 2 to 3 medium regular cucumbers (washed & chopped) (I leave the skin on but you may peel the cukes)
1 tablespoon fresh chives (washed & chopped)
1 tablespoon fresh dill weed (washed & chopped) (If you don't like dill - fresh basil is also great in this salad)
1 tablespoon (or to taste) balsamic vinegar (regular white or apple cider vinegar may be substituted - but use a little less).
1 tablespoon Olive Oil
Salt & Pepper - to taste

Whenever they are in season I add extra ingredients to this salad - like small tender pattipan squash

Prepare the ingredients as described in the ingredients list above.  Then mix all ingredients together in a large bowl. 

Enjoy!!  It is great as a side dish with any summer dinner!


Tuesday, July 26, 2011

A Basket of Greens


A Basket of Greens

Greens should be the staple of any garden.  They can be grown from spring to late fall (and some greens - like Kale - even beyond that).  Not only are Greens very nutritious but they are (in my opinion) beautiful and majestic - I imagine the queen has a "basket of greens" at least once a week.  Just look at the different shades of green in the picture below!  And the ruffled elegance of Kale and Endive!  OK - that's going a little overboard.

We plant greens in succession all season long so we are able to have a continuous supply.  Plant Greens - You won't be disappointed


The greens included in this basket are:
-Endive
-Buttercrunch Lettuce
-Romaine Lettuce
-Baby Pak Choi/Bok Choy
-Broccoli Raab
-Kale

Monday, July 25, 2011

Garden Velcro

Garden Velcro


Garden Velcro

I use this wonderful product to tie up my tomato plants but it can also be used to secure many other plants, trees and shrubs.  In the picture below you will see one of my crazy tomato plants.  I have about 20 tomato cages but since I planted 80 tomato plants I needed to find another way to lift my tomatoes off the ground.


Simply cut the length required (length will vary depending on the size of your plant), and fasten around a wooden stake.  One side of the Velro is white and the other side is green - just make sure the white & green sides are touching and it will be secure.  Fasten the velcro a little loose so you don't choke your plant.

Tomato Plant now secure with Garden Velcro


Sunday, July 24, 2011

Don't Look Back While Plowing

Jesus replied, "No one who puts his hand to the plow and looks back is fit for the service in the kingdom of God."  Luke 9:62

Have you ever tried to make a line in the ground (where you are going to plant something) and keep turning around and looking back behind you?  It's impossible and really does make a laughable crooked mess.

This verse says 2 things to me:

1.  The main thing is TRUST.  I'm talking about trust in God.  So many times throughout my life I have said "Why do you want me to do this Lord?" or "Why am I being treated this way?" (on and on and on).  I don't have to know WHY - I just have to trust Him.  As my 6 year old niece just recently said: "God knows what He's doing."  We don't have to know because He knows - all we have to do is trust, follow and act.

2.  If you dwell on the past then you forget to live in the present.  Looking back while plowing a line in the garden makes a mess and focusing on the past makes a jumble of our present life and our future life.  God will not be glorified in our lives if we are centered around the past instead of being centered around our Lord and Savior - Jesus Christ.

Lord help us to trust you more and more each day so that we will become good and faithful servants.

Saturday, July 23, 2011

Freezing Shredded Zucchini


Freezing Shredded Zucchini

Whenever my garden is overflowing with Zucchini (which is most of the summer) - there are always many that get away from me and become too large for sauteing.  I preserve these overgrown zucchinis by shredding and then freezing them.

I use a food processor to shred the zucchini but you may also shred them by hand. 


Shredded zucchini in the food processor

Don't overfill your food processor - as you can see I did in the picture above (oops).

Now fill your baggies - I never put more than 3 cups of shredded zucchini in 1 bag.  I use a vacuum packer but using ziploc baggies is also an option.  If you are using a "food saver" or vacuum packer then you must freeze the zucchini in the bag before actually sealing with the vacuum packer.  As you can see in the picture below - I am temporarily sealing the bag with a chip clip. 


Freeze before vacuum packing! - If you seal before freezing then you will have zucchini juice all over the counter and inside your vacuum packing machine (and the bag will not seal properly).  Place the bag in the freezer for no less than 8 hours.


Sealed after zucchini was frozen.

Label and then it will be ready for winter usage. 

You CANNOT use frozen shredded zucchini to make zucchini bread (trust me I've tried) - the water content is too high and makes the dough gooey and it will never be fully baked in the middle. 

I use my shredded zucchini in soups and chilis - It's wonderful!!


Friday, July 22, 2011

Freezing Asparagus

DSCF1246


Freezing Asparagus

Harvest your asparagus as described in:  Asparagus - From Spring to Winter.  Then, prepare your asparagus as described in:  The Basics - Preparing Asparagus


DSCF1247


DSCF1248


DSCF1249

Everbearing Raspberry Plant


Everbearing Raspberry Bush - Everbearing does NOT mean a non-stop supply of berries (I wish) - it does mean that you are able to pick twice a year - once in early summer (beginning of July) and then again in early fall (September).  The fall harvest is always the larger of the two.  Grows best in full sun and sandy soil.  Beware of the thorny stems.  Enjoy! 

Thursday, July 21, 2011

The Basics - Breaded Sauteed Zucchini


The Basics - Breaded Sauteed Zucchini

2 Medium Zucchini (I use 1 regular zucchini & 1 yellow/summer squash - as seen in picture above)
1/2 cup Italian Bread Crumbs
1 egg (whisked with 1 tablespoon of milk or cream)
Sea Salt and Pepper to taste (garlic salt may be used instead of plain sea salt)
Olive Oil

Cut the Zucchini into circles (1/4 inch to 1/2 inch thick) - discarding or composting the ends.  Put the whisked egg in a small bowl and then in a different bowl place the Italian Bread Crumbs.  First dip a Zucchini circle in the egg making sure that there is a thin layer of egg wash on both sides.  Then dip the zucchini circle in the bread crumbs - again making sure both sides are covered.  Repeat until all Zucchini rounds are breaded.  

First dip each zucchini circle in the egg wash and then in the bread crumbs
 
Take a large frying pan (preferably stainless steel) and drizzle in a little Extra Virgin Olive Oil.  Place as many Zucchini Rounds as you can fit leaving enough room to be able to turn each one.  Sprinkle a little salt & pepper on 1 side of each Zucchini Circle.  Place frying pan on the stove and turn heat to medium.  Saute for a few minutes on each side until golden brown or desired color.  In the picture below you will see that I prefer my zucchini rounds darker brown making a crisper breading (some people might consider this burned - but I call it perfect).  Continue cooking until all zucchini rounds are gone.  Serve immediately

Breaded Zucchini Rounds sauted to perfection (stop cooking at your desired shade of "golden brown").  In the top of this pan are some breaded zucchini circles that have not been flipped to the other side.

Wednesday, July 20, 2011

Garden Filled Grilled Cheese Sandwiches (Part 3 of Vegetable Base)

This is great for summer lunches - cold, refreshing, delicious and healthy!

Garden Vegetable Base

1 medium head of broccoli (cut into small pieces)
2 or 3 green onions (chopped)
1 green bell pepper (diced thinly)
1 red or yellow bell pepper (diced thinly)
2 stalks celery (chopped)
3 large carrots (peeled and shredded)
3 cooked or baked chicken breasts (either shredded or cut into bite sized pieces) (sometimes I use leftover baked chicken from the night before or sometimes to save time I buy chicken breasts that have already been baked)
1 bunch of cilantro (washed and chopped)
1/4 teaspoon ground hot chile pepper or cayenne (again - I prefer spicy food so I will add more than 1/2 teaspoon - but only add according to your taste)
NOTE:  Many times I will substitue tender young zucchini or yellow squash for the celery or I will add whatever is in season from the garden at that time.

Prepare everything as directed above.  In a large stainless steel or glass bowl - Stir all ingredients together by hand using a wooden spoon.  Split "vegetable base" into 3 equal parts.  Use 1/3 of vegetable base for recipe below.
Note to Vegetarians:  Simply omit the chicken breasts


"Garden Vegetable Base" before dividing into thirds

Garden Filled Grilled Cheese Sandwiches

1/3 Vegetable Base
8 slices of your favorite bread
8 slices of your favorite cheese (American, Provolone, Swiss, Pepper Jack, Cheddar are all great for this recipe).
Butter

Butter both sides of each slice of bread.  Place slices of cheese on the inside of 2 slices of bread.  Then spread some "vegetable base" filling on the bottom bread slice (on top of the cheese.  See picture below).  Place the top bread slice on the "vegetable base" (cheese side down).  Repeat until all bread slices are used.  Now - Grill --- flipping the sandwich once the desired golden color is achieved.

Enjoy!

Building the Grilled Cheese Sandwich


Tuesday, July 19, 2011

The Magic Purple Bean


I mixed some regular green beans in with the purple beans for contrast.

The Magic Purple Bean

I never thought that boiling beans could be exciting until I started growing purple beans (also known as burgundy beans).  They are similar to regular green bush beans in taste, size and growth (see picture below).  Really the only difference is the color.  If they are left to grow too large they too can become tough and stringy.    

A Purple or Burgundy Bush Bean plant.

When this bean is snapped in two you will notice that the inside is green like a regular bean - it is only the outer layer or skin that is purple.
The inside of the Purple Bean is green.
The purple bean will turn green when cooked - whether you boil or saute purple beans - they will always turn green.  This is very enjoyable for children also - it can be the seed (no pun intended) that sparks an interest in cooking or gardening.

The purple beans turn green when cooked.  In this picture the purple beans are almost totally green; once they are fully cooked they will be all green.

Monday, July 18, 2011

Good Pest Deterrent - Coyote Urine

Unprotected bush bean plants that have been eaten almost down to the stem.

Good Pest Deterrent - Coyote Urine

There are many Pest Deterrent products available but over the years I have found that Coyote Urine &/or Fox Urine works the best.  It is available in powdered form and all you do is simply sprinkle this product around the perimeter of your garden.  One application will last for 4 or 5 days provided that there is no rain (different products may vary).  That is really the only negative aspect of this product - in a rainy spell you will have to apply this product everytime after it rains.

"Coyote Urine/Fox Urine" products will only deter certain animals NOT insects.  If your plants are being eaten by insects then that is an entirely different problem with totally different options for getting rid of the insects (which will be disgussed in a later post).

"Coyote Urine" product has been sprinkled around this part of the garden and these bean plants are untouched by critters.

Sunday, July 17, 2011

As a North Wind Brings Rain

"As a north wind brings rain, so a sly tongue brings angry looks."  Proberbs 25:23

It's interesting when thinking about wind and rain:  in a split second a breeze can blow in and when thinking about rain it is very difficult to contain.  Rain blown by a strong wind can be painful and stings unprotected skin. 

A sly tongue is quick (just like water rolling off the tongue), uncontrollable and hurtful.  I think "angry looks" is the least of what results from a "sly tongue."  I looked up the meaning of sly and 2 meanings stood out - "deceitfully clever" and "playfully mischievous."  Both meanings have a bad side and a good side.  If we throw out the bad (deceitful and mischievous) and merge the good we would get "playfully clever."  Words are out of our mouth like a strong breeze sometimes causing a driving rain.  Let's try to pay more attention to the words that we use and the way that we use our words.

Lord please help us as we try to control our words.

Saturday, July 16, 2011

Blueberry Jam


Blueberry Jam

4 cups crushed blueberries (washed, drained & then crushed)
Juice from 1 lemon
1 package of fruit pectin
6 to 7 cups of sugar (I always use less sugar because in my opinion most jams & jellies are too sweet.  Using less sugar might make your jam a little more runny or syrup-like but most times I haven't been able to tell a difference)


1.  Gather your canning jars, lids and rings (you will need 6 or 7 half pints).  Canning Basics - Jar Sizes
     Also, gather all other canning supplies:  Other Canning Supplies
2.  In a large stainless steel pot mix the fruit (crushed blueberries), lemon juice and fruit
     pectin - stir until pectin is dissolved.
3.  Start the water boiling for Jar sterilization:  Sterilizing Jars & Lids
4.  Bring the fruit mixture to a full boil over meduim-high heat - gently stirring all the time.
5.  Add the entire amount of sugar (again - I use the lesser amount - 6 cups) - stirring until dissolved.
6.  Bring this mixture to a full boil again - continuously stirring.  Boil hard for a full minute (you will notice
     some foamy stuff on top - that is supposed to happen.  If it boils too close to the top of the pot then you
     will need to turn the heat down slightly).  Constant stirring is a must!


7.  Remove the pot from heat and skim foam off the top and discard the foam.
8.  By now your jars should be sterilized and ready to be filled.  Take the jars out of the boiling water (I use
     my jar remover and make sure that the water is drained out of each jar).  Fill each jar up to the threads
     of the jar (about 1/4 inch to 1/2 inch of headspace)
9.  Wipe the rim of each jar with a damp cloth making sure that any jam residue is gone (any residue left on
      the rim can stop the jar from sealing).


10. Place a sterilized lid on each jar and then tighten a ring on each jar.
11. Place all jars in a "Water Bath Canner" and process (boil) the jars for 10 minutes (make sure that the
      water level in the Canner is 1 inch above the tallest jar)
12. Remove the jars and place them on the counter or table to cool (I always place them on a cloth because
      there have been a few times when a jar cracked and then the jam oozed out making a mess - the cloth
      will help if that happens).  You will hear the wonderful popping sound of your jars sealing.
13. Allow the jar to cool for 24 hours and then store in your pantry or in your fruit cellar until the winter
      and then enjoy a little bit of summer.


Other Jelly or Jam Recipes on this blog:

Friday, July 15, 2011

Protecting Goji Berry Plants from Critters


Goji Berry Plants

This is my first year growing Goji Berries.  These berry bushes are supposed to provide a high berry yield but I will have be be patient because it will take 2 or 3 years before I will even see my first berry (provided the animals don't eat them first).  About 2 weeks after I planted the Goji Berry bushes I noticed that they almost disappeared - all that remained was a little twig.  I'm not sure which critter enjoys Goji's but they had eaten all the leaves off the stem and they had eaten the plant down to a stick.  I reordered and replanted and now have these tender garden jems protected.

Cut 4 or 5 feet (depending on the size of your berry plant) of chicken wire/fencing and form it into a circle (see picture above).  (I used the tall fencing and then cut it in half - you can buy the short fence which is the perfect size for a "yearling" Goji berry plant).  Fasten the circle together with garden twine or bend a piece of the fence back a little.  Then place over the Goji plant and fasten the protective fence to a garden stake.  I'm hoping this will be tall enough to protect the Goji plant into the second year - I will let you know next year if it does the trick.


Thursday, July 14, 2011

The Basics - Preparing Asparagus


The Basics - Preparing Asparagus

Many people do not realize how easy it is to prepare asparagus.  The lower portion of each asparagus stalk can become tough, stringy and very unpleasant to try to eat.  Harvest your asparagus as described in:  Asparagus - From Spring to Winter.  Then hold onto the top end of an asparagus stalk with one hand and onto the bottom with the other hand and then bend (see the first picture).  The stalk will snap in two (see second picture above) and the bottom end is the tough one (compost or discard this end) and then the top part is the tender edible part (see picture below).  If you don't believe me then please try to eat the bottom part - it's as if asparagus has an invisible line separating the good and bad portions.  Continue snapping each asparagus stalk that you have harvested.  Some "bad" portions on 1 stalk will be larger than other asparagus stalks.  Cook as desired and enjoy.

NOTE:  If asparagus is not fresh it will not "snap" as described.

Wednesday, July 13, 2011

Garden Fresh Pasta Salad (Part 2 of Vegetable Base)

This is great for summer lunches - cold, refreshing, delicious and healthy!

Garden Vegetable Base

1 medium head of broccoli (cut into small pieces)
2 or 3 green onions (chopped)
1 green bell pepper (diced thinly)
1 red or yellow bell pepper (diced thinly)
2 stalks celery (chopped)
3 large carrots (peeled and shredded)
3 cooked or baked chicken breasts (either shredded or cut into bite sized pieces) (sometimes I use leftover baked chicken from the night before or sometimes to save time I buy chicken breasts that have already been baked)
1 bunch of cilantro (washed and chopped)
1/4 teaspoon ground hot chile pepper or cayenne (again - I prefer spicy food so I will add more than 1/2 teaspoon - but only add according to your taste)
NOTE:  Many times I will substitue tender young zucchini or yellow squash for the celery or I will add whatever is in season from the garden at that time.

Prepare everything as directed above.  In a large stainless steel or glass bowl - Stir all ingredients together by hand using a wooden spoon.  Split "vegetable base" into 3 equal parts.  Use 1/3 of vegetable base for recipe below.
Note to Vegetarians:  Simply omit the chicken breasts


"Garden Vegetable Base" before dividing into thirds

Garden Fresh Pasta Salad

1/3 Vegetable Base
1 English Cucumber (peeled and cubed)
1 package Penne Pasta - cooked, drained and cooled (I like to use the low-carb pasta but vegetable pasta is also good)
1/2 to 3/4 cup mayonnaise

Cut the cucumber and cook the pasta (as explained in ingredient list).  Mix 1/3 of the vegetable base, the cut cucumber, the pasta (cooked, drained and cooled) and the mayonnaise by hand with a wooden spoon.
Enjoy!
(Again, this recipe can be made ahead of time and stored in the refridgerator)


Tuesday, July 12, 2011

Green Beans - Pole Beans vs Bush Beans


Green Beans - Pole Beans vs. Bush Beans

Pole Bean: 
                 Pro - it's easier on your back and knees when harvesting, you don't have to bend down
                       - a space saver
                       - great taste (equal to the bush bean)
                 Con - you must provide a fence or trellis for the pole been to climb
                        - they can become wild looking and tangled

Bush Bean:
                 Pro - tastes great (equal to the pole bean)
                       - neat and tidy - won't get twisted with other plant rows
                 Con - you must bend down or get on your knees when harvesting
                        - takes up more ground space than the pole beans

Well there you have it - I guess I prefer the Pole Bean to the Bush Bean.

Please feel free to share your pros & cons in the comment section

On the left side of the fence you will see my pole beans and on the right side of the fence are my pickling cucumbers

Related Posts Plugin for WordPress, Blogger...