Thursday, July 7, 2011

The Basics of Canning - Sterilizing Jars and Lids


Sterilizing Jars and Lids

Before filling your jars with whatever you are canning, the first thing to do is wash your jars in soapy water.  (My extra jars are stored in my garage so I always make sure that the dust, bugs and whatever else is washed off the jars). 

Next, boil your clean jars.  Some people only scald their jars before canning but I don't want to take any chances, so I boil my jars and lids for 5 minutes before canning.  (I always add a couple tablespoons of white vinegar to the boiling water - this helps keep the glass clear and this is also especially helpful if you have hard water).  Another way to sterilize your canning jars is to run them through the dishwasher and remove them just after the drying cycle when they are so hot that you can barely touch them.  I prefer using the boiling water method because you can do a few at a time and you don't have to wait the entire dishwashing cycle.


Canning jars in boiling water for sterilization

Then the jars are sterilized and they are ready for whatever produce you are canning.  I place the lids in the boiling water just before I begin filling the sterilized jars.  Once I have finished filling the jars then the lids are ready to be used.

Wednesday, July 6, 2011

Veggie Cream Cheese Swirls (Part 1 of Vegetable Base)

This is great for summer lunches - cold, refreshing, delicious and healthy!

Garden Vegetable Base

1 medium head of broccoli (cut into small pieces)
2 or 3 green onions (chopped)
1 green bell pepper (diced thinly)
1 red or yellow bell pepper (diced thinly)
2 stalks celery (chopped)
3 large carrots (peeled and shredded)
3 cooked or baked chicken breasts (either shredded or cut into small pieces) (sometimes I use leftover baked chicken from the night before or sometimes, to save time, I buy chicken breasts that have already been baked)
1 bunch of cilantro (washed and chopped)
1/4 teaspoon ground hot chile pepper or cayenne (again - I prefer spicy food so I will add more than 1/2 teaspoon - but only add according to your taste)
NOTE:  Many times I will substitue tender young zucchini or yellow squash for the celery or I will add whatever is in season from the garden at that time.

Prepare everything as directed above.  In a large stainless steel or glass bowl - Stir all ingredients together by hand using a wooden spoon.  Divide the "vegetable base" into 3 equal parts.  Use 1/3 of vegetable base for the recipe below.
Note to Vegetarians:  Simply omit the chicken breasts


"Garden Vegetable Base" before dividing into thirds

Veggie Cream Cheese Swirls

1/3 of "Garden Vegetable Base"
1/2 cup shredded cheddar cheese (or whatever cheese you prefer)
4 large soft tortilla shells/wraps (I use wheat not corn)
1 package cream cheese cut into 4 equal chunks (softened to room temperature)
fresh greens from the garden, washed and drained (spinach, kale, lettuce, broccoli raab or baby pak choi/bok choy - whatever you prefer)


Stir the shredded cheese in with 1/3 Vegetable Base (from above).  Take 1 tortilla wrap and spread 1/4 of the cream cheese all over 1 side of the tortilla making sure to get close to the edge.  Place some of the vegetable shredded cheese mixture on one half of the tortilla (as shown below) and then place some of your garden fresh greens on top (again - see picture below).  Starting at the filled end simply roll up the tortilla as tight as possible without ripping the shell.  Continue filling the remaining 3 tortilla shells in the same manner.  Now cut into 1 1/2 inch slices and enjoy!!

Filled tortilla shell is ready to be rolled.


  Final filled tortilla cut into Veggie Swirls and ready to eat

Also great if you make this ahead of time and chill for a few hours in the fridge (may be stored in fridge for no more than 48 hours as the wrap can start to get a little soggy after that length of time).

Tuesday, July 5, 2011

Planting Sweet Potatoes


Place your sweet potato plants in a pail with some water after they arrive in the mail


Sweet Potato Sets

When your sweet potato plants (sets) arrive don't be alarmed if they apear very wilted.  Simply place them in a pail (with a few inches of water in the bottom) for a few days and you will notice the foliage perk up and the plants become healthly looking. 


Soil is prepared and the furrows are ready for the sweet potatoes to be planted

Preparing the soil

Each row should be about 2 or 3 feet apart.  You will need to mound each row creating a furrow and each furrow should be 8 to 12 inches high (see picture above). 

Sweet Potatoes have just been planted

Planting

Start in 1 row and arrange the Sweet Potato Sets before actually planting.  The potato sets should be planted 12 to 18 inches apart.  Use either a garden trowel or a larger stick to make a hole and then place 1 sweet potato set in each hole and water slightly (make sure you cover the pinkish roots and tightly pack the dirt but do not cover the bud or base of the leaves) .  The spacing of your first row will help you when you plant the next row.  In the second row you will plant your first set by going up six inches from the beginning of the row
- when looking at the first row this would actually be in between the first 2 plants.  If you were to draw a line between the first 2 rows it would look like a zig-zag line (see the picture below - I place some garden twine down to demonstrate).  Then the third line would be spaced like the first row and the fourth row would be spaced like the second (and so on until you are finished planting).  The reason for this zig-zag planting is because the sweet potato vines can become a tangled mess by the end of the season.  If you plant in the way I described these vines will grow inbetween each other plant and will not become twisted.


If you were to draw a line between the first 2 rows it would look like a zig-zag line.

Photobucket


Featured on:

Green Thumb Thursday

Linked to:

_______________________________________________________________________
Revive those old blog posts with the "Post Swap Program"  - I will place a blog post of your choosing on my blog & then in return you will place one of my blog posts on your blog!
God’s Growing Garden
Please fill out this form if you are interested:  click HERE to view form 

Monday, July 4, 2011

Happy Fourth!

Happy Independence Day and a late Happy Canada Day to my Canadian Readers!

Enjoy your day and may God richly bless you!

2010 Sunflowers from my garden

Sunday, July 3, 2011

Sow in Peace

"Peacemakers who sow in peace raise a harvest of righteousness."  James 3:18

Thinking about soil types - what happens when we plant seeds in rocky, stoney soil?  Of course the answer is nothing or very little. And, what happens if we plant seeds in ground that is  beside a large tree and therefore the soil is root bound?  Again, the harvest would be almost nothing - the seeds might sprout but the plant would be choked out by the stronger tree roots. 

It's the same when planting righteousness - it must be planted in peace otherwise there will be a false sense of righteousness with underlying anger and frustration that will fester for years.  If the environment (soil) is full of turmoil, anxiety and conflict (rocks & roots) then peace and righteousness (harvest) will never happen until we face the anxiety head on, until we deal with the fighting and resolve conflicts.  Peacemaking is hard work and before we plant we must till that soil and lift up the heavy rocks and cut the roots.  If we ignore, deny and avoid any conflict, then true peace and righteousness will never come.

Lord please help us as we try to raise a harvest of righteousness.

Saturday, July 2, 2011

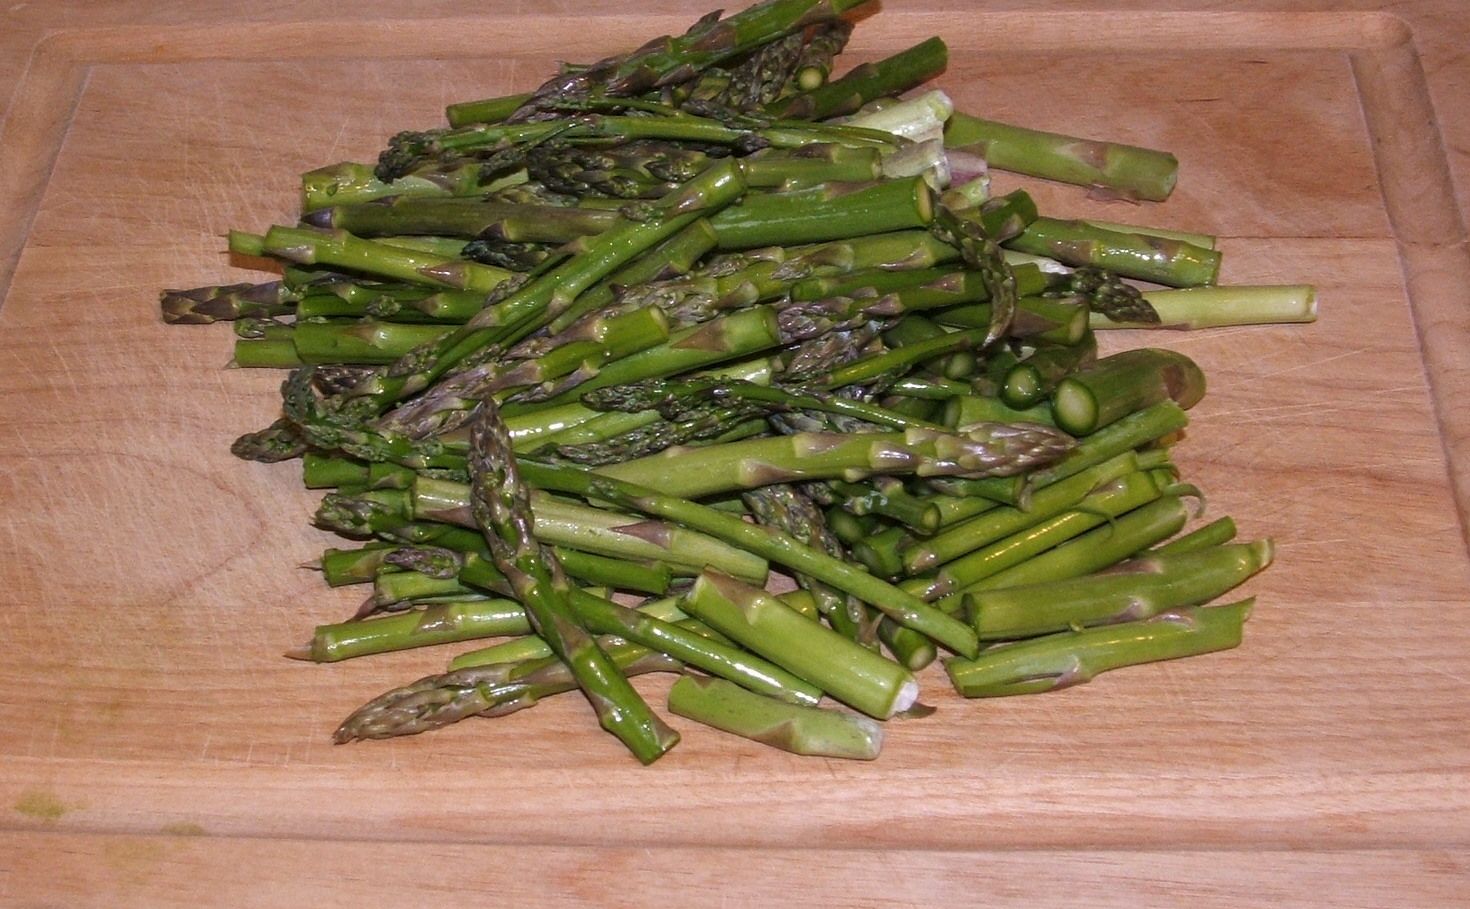
Freezing Asparagus

DSCF1246

DSCF1247


5 Easy Steps to Freezing Asparagus

1.  Wash and Cut the Asparagus.  (I have sandy soil and I soak the asparagus in water for about 15 minutes)
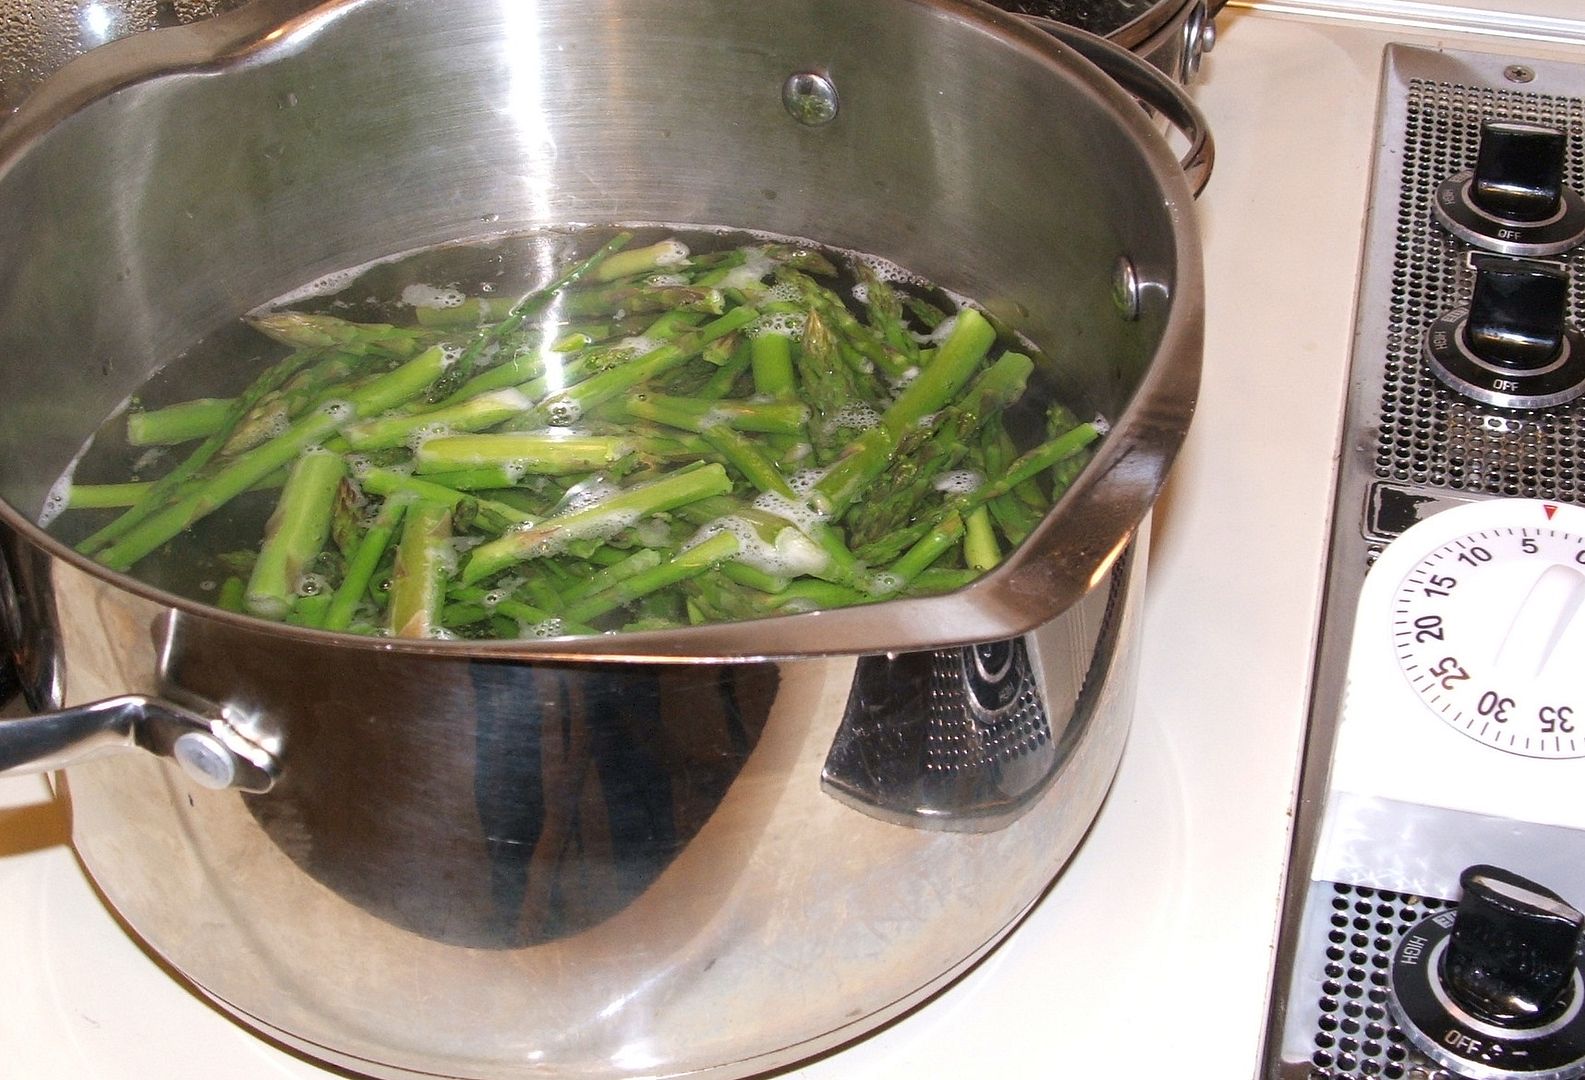
2.  Blanch the asparagus in boiling water for 4 minutes and then remove or drain immediately (Blanching stops the enzyme process and keeps the produce fresh and crisp)


3.  Cool the Asparagus to room temperature (I cool my blanched vegetables by placing them in a small pyrex dish and then placing that small dish in a larger pyrex dish that has been filled with ice & cold water.  Then I fill a ziploc baggie with ice and place that bag on top of the asparagus.  You can cool the asparagus in water but that can wash some of the flavor away).

4.  Then I vacuum pack the asparagus (If you don't have a vacuum sealer then just use ziploc bags)
5.  Then place in the freezer and in the winter you will have asparagus that tastes almost as good as freshly picked from the garden!

Friday, July 1, 2011

Growing Irises


You know it's time to split or thin your Irises when they start to spread into the grass (lol).   As you can see by the picture below that is exactly what happened with my Iris patch.

A clump of Irises that I dug up - they are now ready for splitting
After the Irises have finished flowering, simply remove your Irises with a shovel (you will need to dig down 6 to 8 inches to make sure you get the root base).  Then look at each stalk and follow it down to the base, there should be a twisted bulb-like root for each stalk.  Now separate each stalk - you might have to snap or cut the thick Iris roots apart.  (see pictures below)

I was able to get 5 plants out of 1 Iris clump

As you can see Irises have a thick twisted root.

Then simply plant each new Iris in it's new location.  Splitting should be done about every 3 years or whenever you notice a large conglomeration of Irises.
Related Posts Plugin for WordPress, Blogger...