
Sandwich Sliced Dill Pickles
I know that it may sound strange but the way a cucumber is sliced changes the pickle itself. I do use my Bread & Butter pickles on sandwiches but they are always slipping out - these "Sandwich Sliced" pickles are meant for just that - SANDWICHES! They are thin, long, crisp, delicious and stay in place for ultimate sandwich enjoyment!
Printable Recipe
Printable Recipe
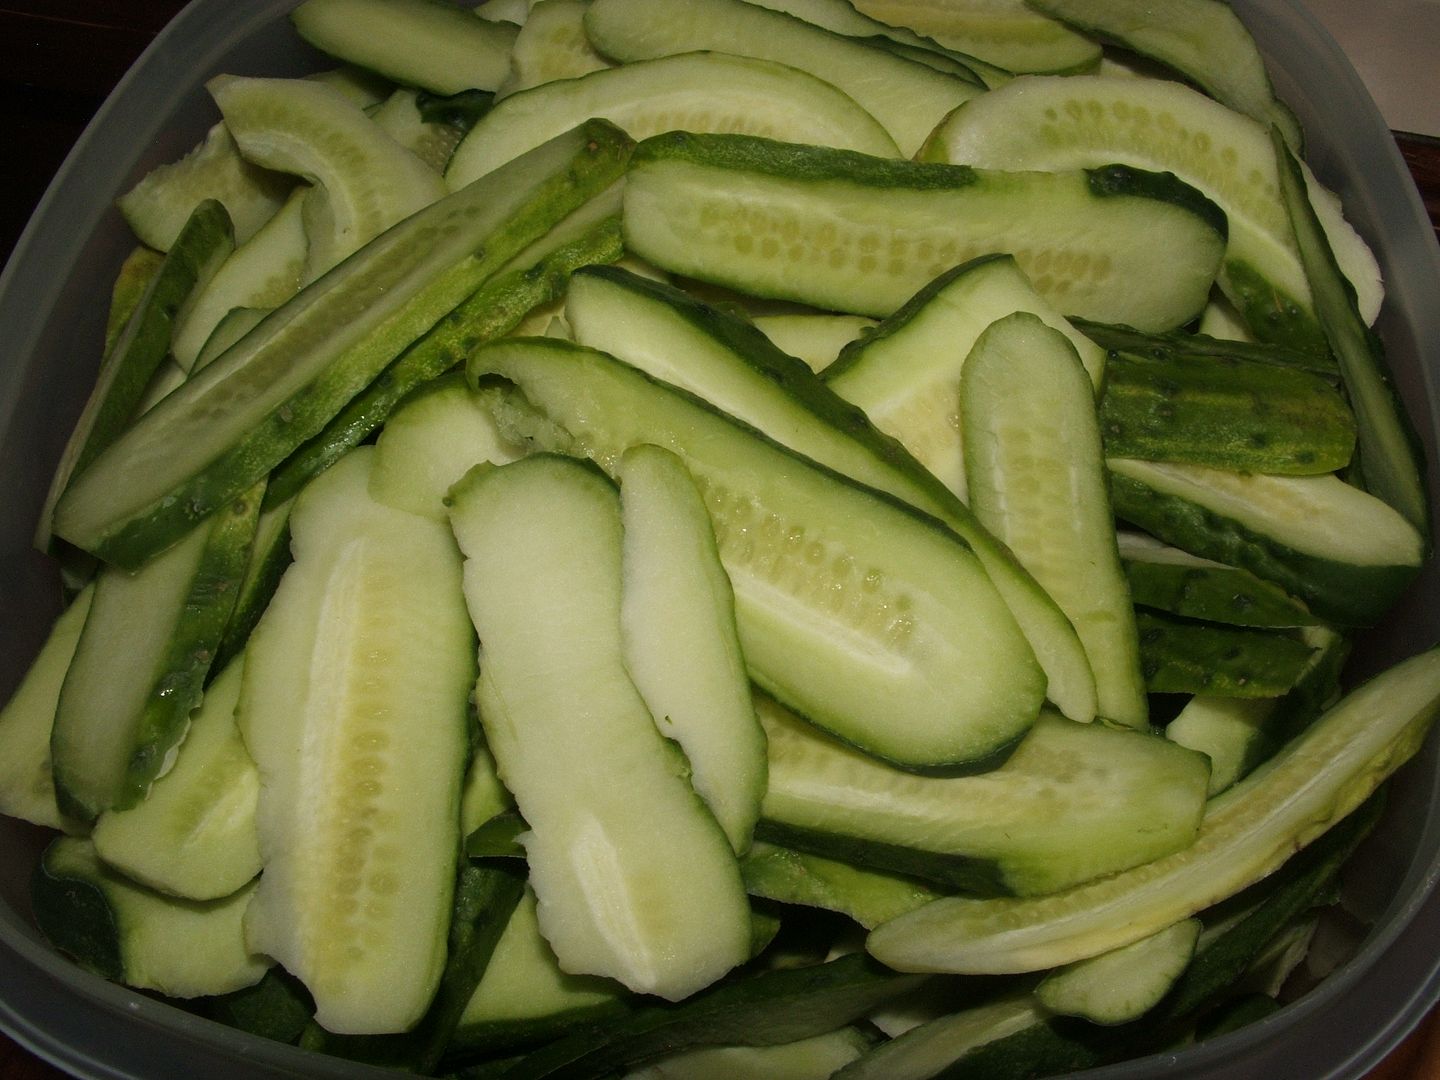
7 to 8 lbs of pickling cucumbers (washed and sliced length wise into 1/4 inch slices - I always cut off the ends and compost them)(see picture below)
3.5 cups vinegar (I use white distilled but apple vinegar would work also)
1.5 cups sugar
10 cup water
1/2 cup pickling (or Kosher) salt
1 teaspoon pickling spice (per jar)
2 to 3 large onions (peeled and sliced into rings)
1 dill head (per jar)
1 clove of garlic (per jar) (peeled)
1 bay leaf (per jar)
1 dried cayenne pepper (per jar) (optional - only use if you want a spicier pickle)
1 dill head (per jar)
1 clove of garlic (per jar) (peeled)
1 bay leaf (per jar)
1 dried cayenne pepper (per jar) (optional - only use if you want a spicier pickle)
Prepare the cucumbers, garlic and onions as described above.

Gather your canning jars, lids and rings (you will need 6+ quarts). Canning Basics - Jar Sizes. Also, gather all other canning supplies: Other Canning Supplies .
Start the water boiling for Jar sterilization: Sterilizing Jars & Lids
In a large stock pot combine the vinegar, sugar, water and (pickling) salt and bring to a boil over medium heat.
By now your water for jar sterilization should be boiling - sterilize your jars 2 at a time. Take them out and begin "raw packing" (Raw Pack vs. Hot Pack) the vegetables.
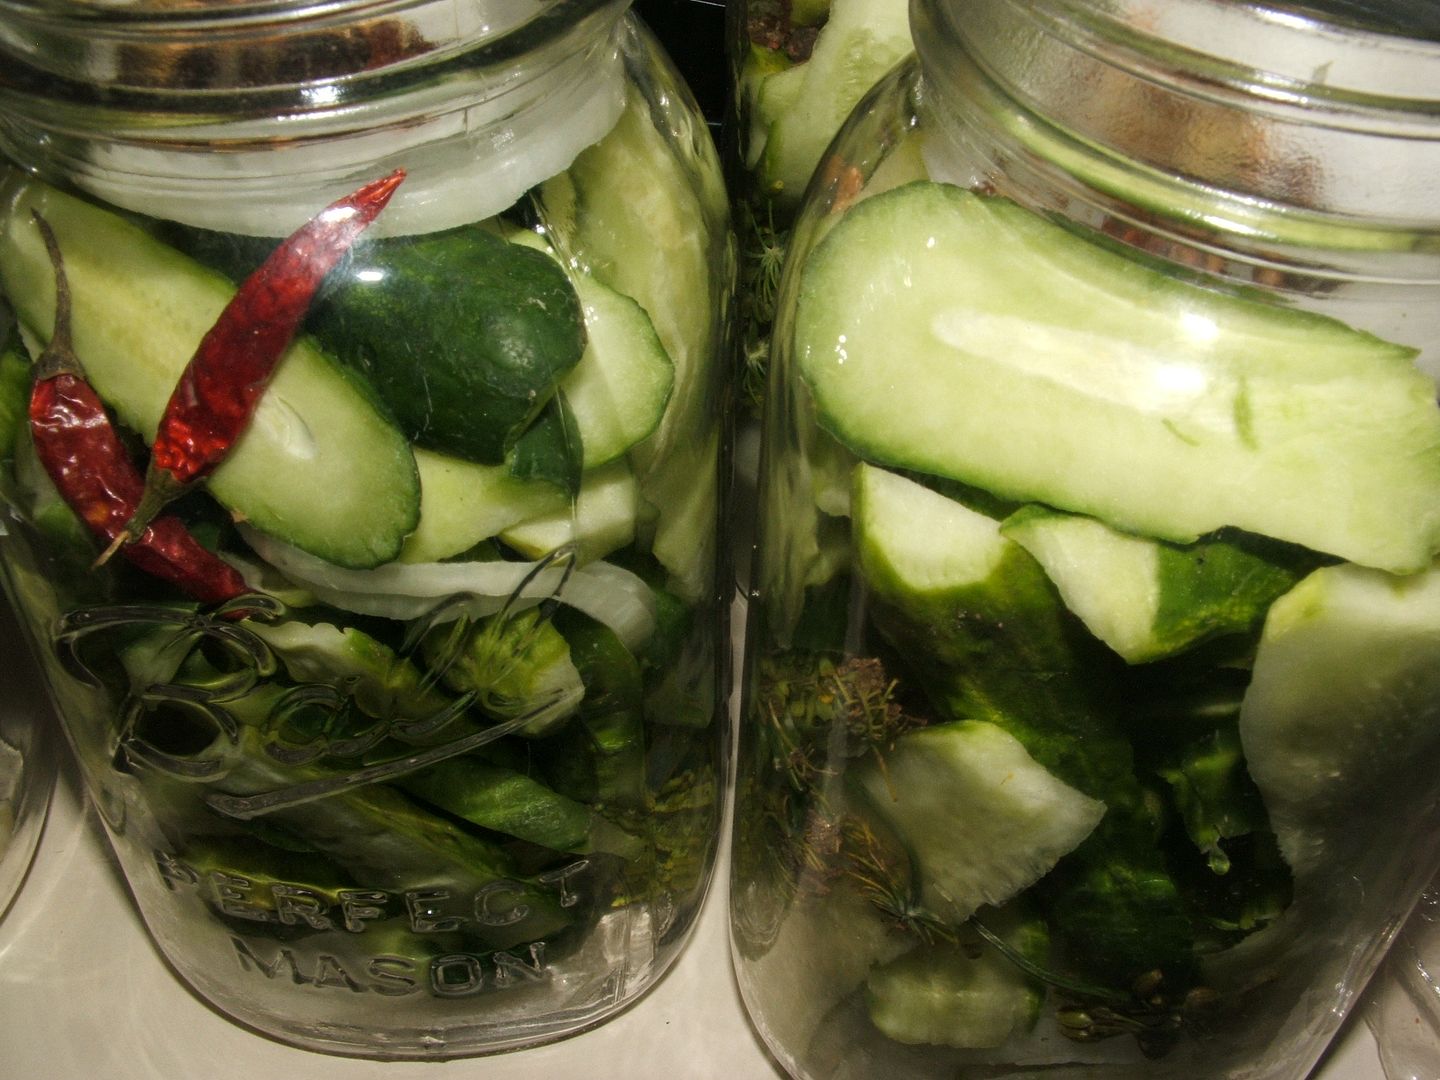
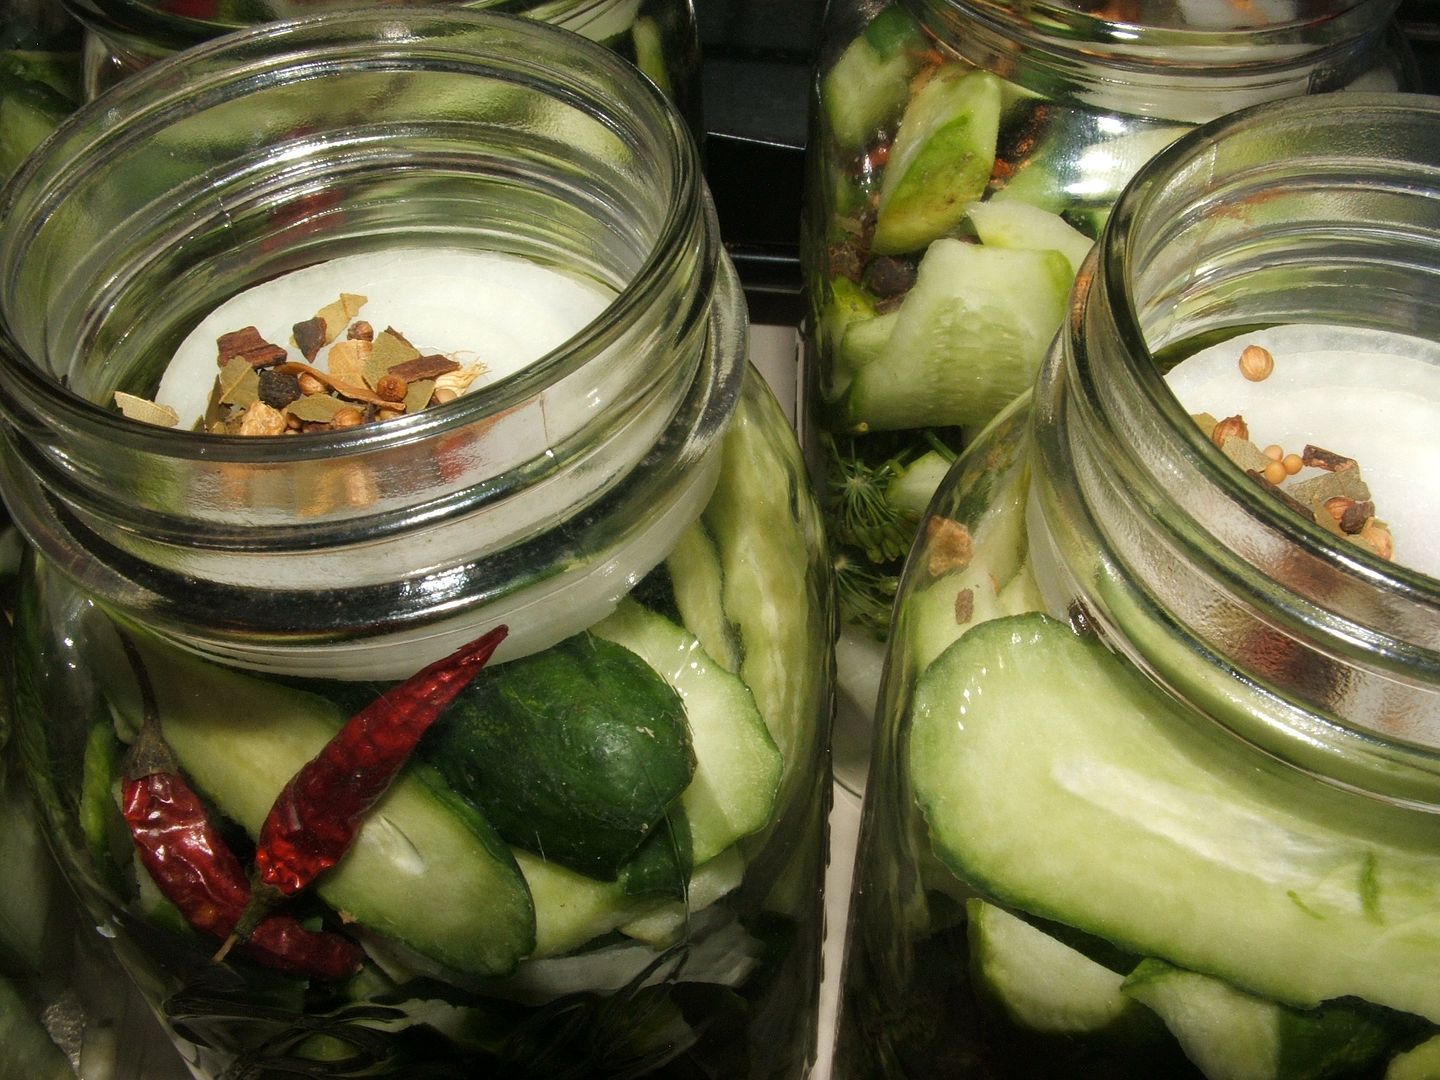
Start with a few onion rings & the clove of garlic at the bottom of the jar and then start filling with the cucumber slices. When the jar is half way full, pick up the jar (with oven mitts) and gently shake the cukes down (I gently shake the jar against the palm of my other hand - also covered with an oven mitt - the jars are very hot!!) This shaking helps the cucumbers settle in the jar and it makes more room for more cucumbers- you want to get the jar as packed as possible. Less brine will be used if your jars are packed quite tight. After settling, place the dill head in the middle & bay leaf & then continue packing with cucumber slices (if you are making a spicier dill then you would add the cayenne pepper now). Leave enough room at the top of each jar for a few more onion rings (leave 1 inch of headspace). Then finally add 1 teaspoon of pickling spice (per jar). (Continue sterilizing jars and Raw Packing them until all of the cucumbers have been used up)

Start with a few onion rings & the clove of garlic at the bottom of the jar and then start filling with the cucumber slices. When the jar is half way full, pick up the jar (with oven mitts) and gently shake the cukes down (I gently shake the jar against the palm of my other hand - also covered with an oven mitt - the jars are very hot!!) This shaking helps the cucumbers settle in the jar and it makes more room for more cucumbers- you want to get the jar as packed as possible. Less brine will be used if your jars are packed quite tight. After settling, place the dill head in the middle & bay leaf & then continue packing with cucumber slices (if you are making a spicier dill then you would add the cayenne pepper now). Leave enough room at the top of each jar for a few more onion rings (leave 1 inch of headspace). Then finally add 1 teaspoon of pickling spice (per jar). (Continue sterilizing jars and Raw Packing them until all of the cucumbers have been used up)

Place the "Raw Packed" jars in a preheated 350 degree oven for 8 minutes (This is before you pour the boiling brine on top). After the 8 minutes remove the jars from the oven and slowly pour boiling brine into each jar - (you want to do this slowly so that the bubbles can work their way to the top before sealing each jar). Fill the brine up to the bottom ring thread of each jar (about 1 inch headspace) (I suggest taking the handle of a plastic spoon or utensil & place in the middle of the cucumber packed & brine filled jar while gently pressing against the side of the jar to release any bubbles). Now you are ready to place a sterilized lid and ring on each jar (wipe the top of the glass jar with a clean wet cloth before placing the lid on the jar) - make sure the ring is screwed on tightly. Now place the jars on the counter or table for 12 hours and you should hear that wonderful popping sound of the jars sealing. The next day, check and make sure that all jars are sealed - (if you press down on each lid and it moves up and down that means that it did not seal - you can put any unsealed jar in the fridge and eat them as refridgerator pickles)
Place all the sealed jars in the pantry for 3 months (or more) and enjoy!
NOTE: This recipe makes 6+ quarts but it all depends on how tightly you pack your jars - sometimes you might run out of brine because the jars have more space to fill. If that happens and you need a little more brine then just cut the brine recipe in half)

Copyright, Permissions& Disclaimer

Linked to:
Snickerdoodle Sunday
Happiness is Homemade
Inspiration Monday
LouLou Girls
Turn It Up Tuesday
Together on Tuesdays
Tuesdays with a Twist
#WakeUpWednesdayLinky
Tickle My Tastebuds
Wonderful Wednesday Linky
Freedom Fridays
#GrowingCirclesHop

Linked to:
Snickerdoodle Sunday
Happiness is Homemade
Inspiration Monday
LouLou Girls
Turn It Up Tuesday
Together on Tuesdays
Tuesdays with a Twist
#WakeUpWednesdayLinky
Tickle My Tastebuds
Wonderful Wednesday Linky
Freedom Fridays
#GrowingCirclesHop
_______________________________________________________________
Grow with us on the CLIMB blog hop!
It's a month long networking Linky!

Click HERE to link up

Angelique, I found your wonderful post at number 236 at our party. I love dill pickles. When I was a little girl, my mom used to make ham salad with dill pickles in it and it was awesome!
ReplyDeleteI'm so glad that you could see my link - strange that I can't see it - the digital world has a mind of it's own.
DeleteThanks so much!
Angie
I love to read all the different way people make pickles! I've only made them once before. These look so good :) Thanks for sharing your recipe at Together on Tuesdays!!!
ReplyDeleteI'm loving this! Pinned and tweeted! I always love your creations, thanks for sharing this with us! I hope to see you tonight at 7 pm. Lou Lou Girls
ReplyDelete