Apricot Sauce/Syrup
Instead of always canning jams & jellies, I prefer sauces and syrups because they can be used in so many different ways:
- on ice cream or to make ice cream
- on pancakes or waffles (after thickening with corn starch)
- even baked into muffins/breads or desserts

You will notice that some of the apricots have a greenish tint - that's because of the squirrels. They would discard the apricot flesh and just eat the pit (that's why I picked them a little under-ripe and then let them ripen inside for a couple days).
I tried to get a picture of the squirrel in the tree below but he was too quick for me.
Printable Recipe
Begin by preparing the apricots as listed above. Place the halved apricots in a food processor and pulse-chop until it resembles the third picture below:
6 cups apricots (washed, drained, cut in half & the pits removed)
juice from 1 lemon
1 1/2 to 2 cups sugar (according to your taste - I prefer it to be on the tart side)
Begin by preparing the apricots as listed above. Place the halved apricots in a food processor and pulse-chop until it resembles the third picture below:

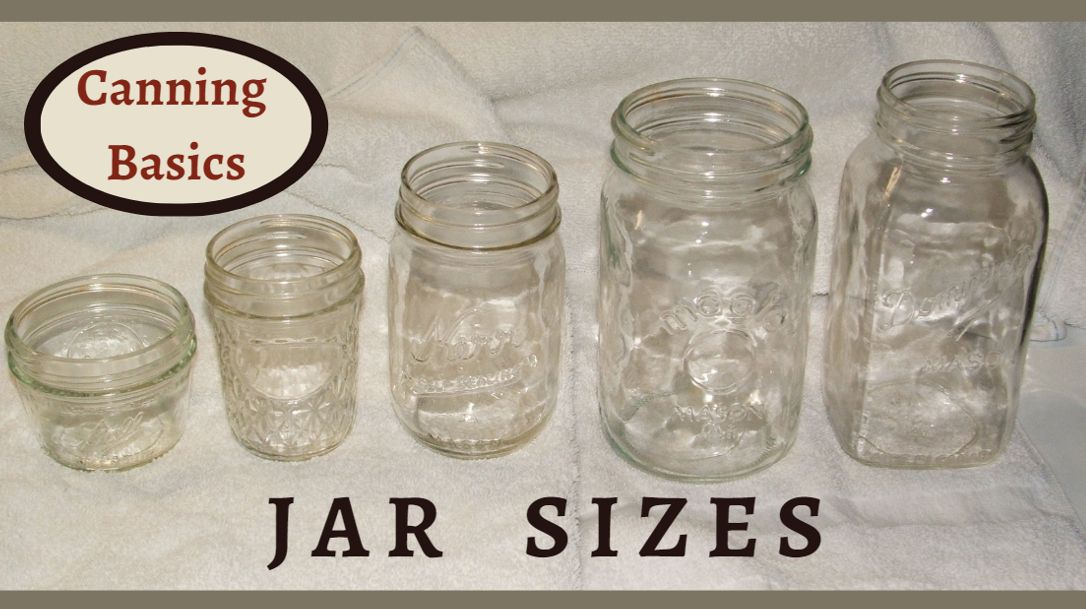
1. Gather your canning jars, lids and rings (you will need 6 or 7 half pints).
2. In a large stainless steel pot mix the apricot puree (picture above) , lemon
juice and sugar - stir until dissolved.
3. Start the water boiling for Jar sterilization: Sterilizing Jars & Lids
4. Bring the fruit mixture to a full boil over meduim-high heat - gently stirring all the time.
5. Turn down the heat to low and simmer for 30 minutes (stirring and removing the
foam that will appear around the edges (see second picture below)
6. Remove the pot from heat.
7. By now your jars should be sterilized and ready to be filled. Take the jars out of the
boiling water (I use my jar remover and make sure that the water is drained out of
each jar).(see pictures below). Fill each jar up to the threads of the jar (about 1/4 inch
to 1/2 inch of head space)
8. Wipe the rim of each jar with a damp cloth making sure that any sauce/syrup residue is
gone (any residue left on the rim can stop the jar from sealing).
9. Place a sterilized lid on each jar and then tighten a ring on each jar.
10. Place all filled jars in a "Water Bath Canner" and process (boil) the jars for 15
minutes (make sure that the water level in the Canner is 1 inch above the tallest jar)
11. After the 15 minutes, immediately remove the jars and place them on the counter or
table to cool (I always place them on a cloth because there have been a few times
when a jar cracked and then the syrup oozed out making a mess - the cloth will
help if that happens). You will hear the wonderful popping sound of your jars sealing.
12. Allow the jar to cool for 24 hours and then store in your pantry or in your fruit cellar
until the winter and then enjoy a little bit of summer.

_____________________________________________________________________
You might be interested in viewing this video:
click HERE to view


This is amazing, used to make jams etc. in my younger days, especially while the kids still at home.
ReplyDeleteThank you for linking to SSPS 373. See you again Monday